
FIFINE AmpliGame AM8PROT & RGB Arm Review
Ready, Set, Record!
Disclaimer: FIFINE sent us a unit free of charge to review, but all thoughts and opinions expressed in this review are our own.
Retail Price: $94.99
‘10FIFINE’ for 10% off on amazon
‘FifineMic15’ for 15% off on FIFINE
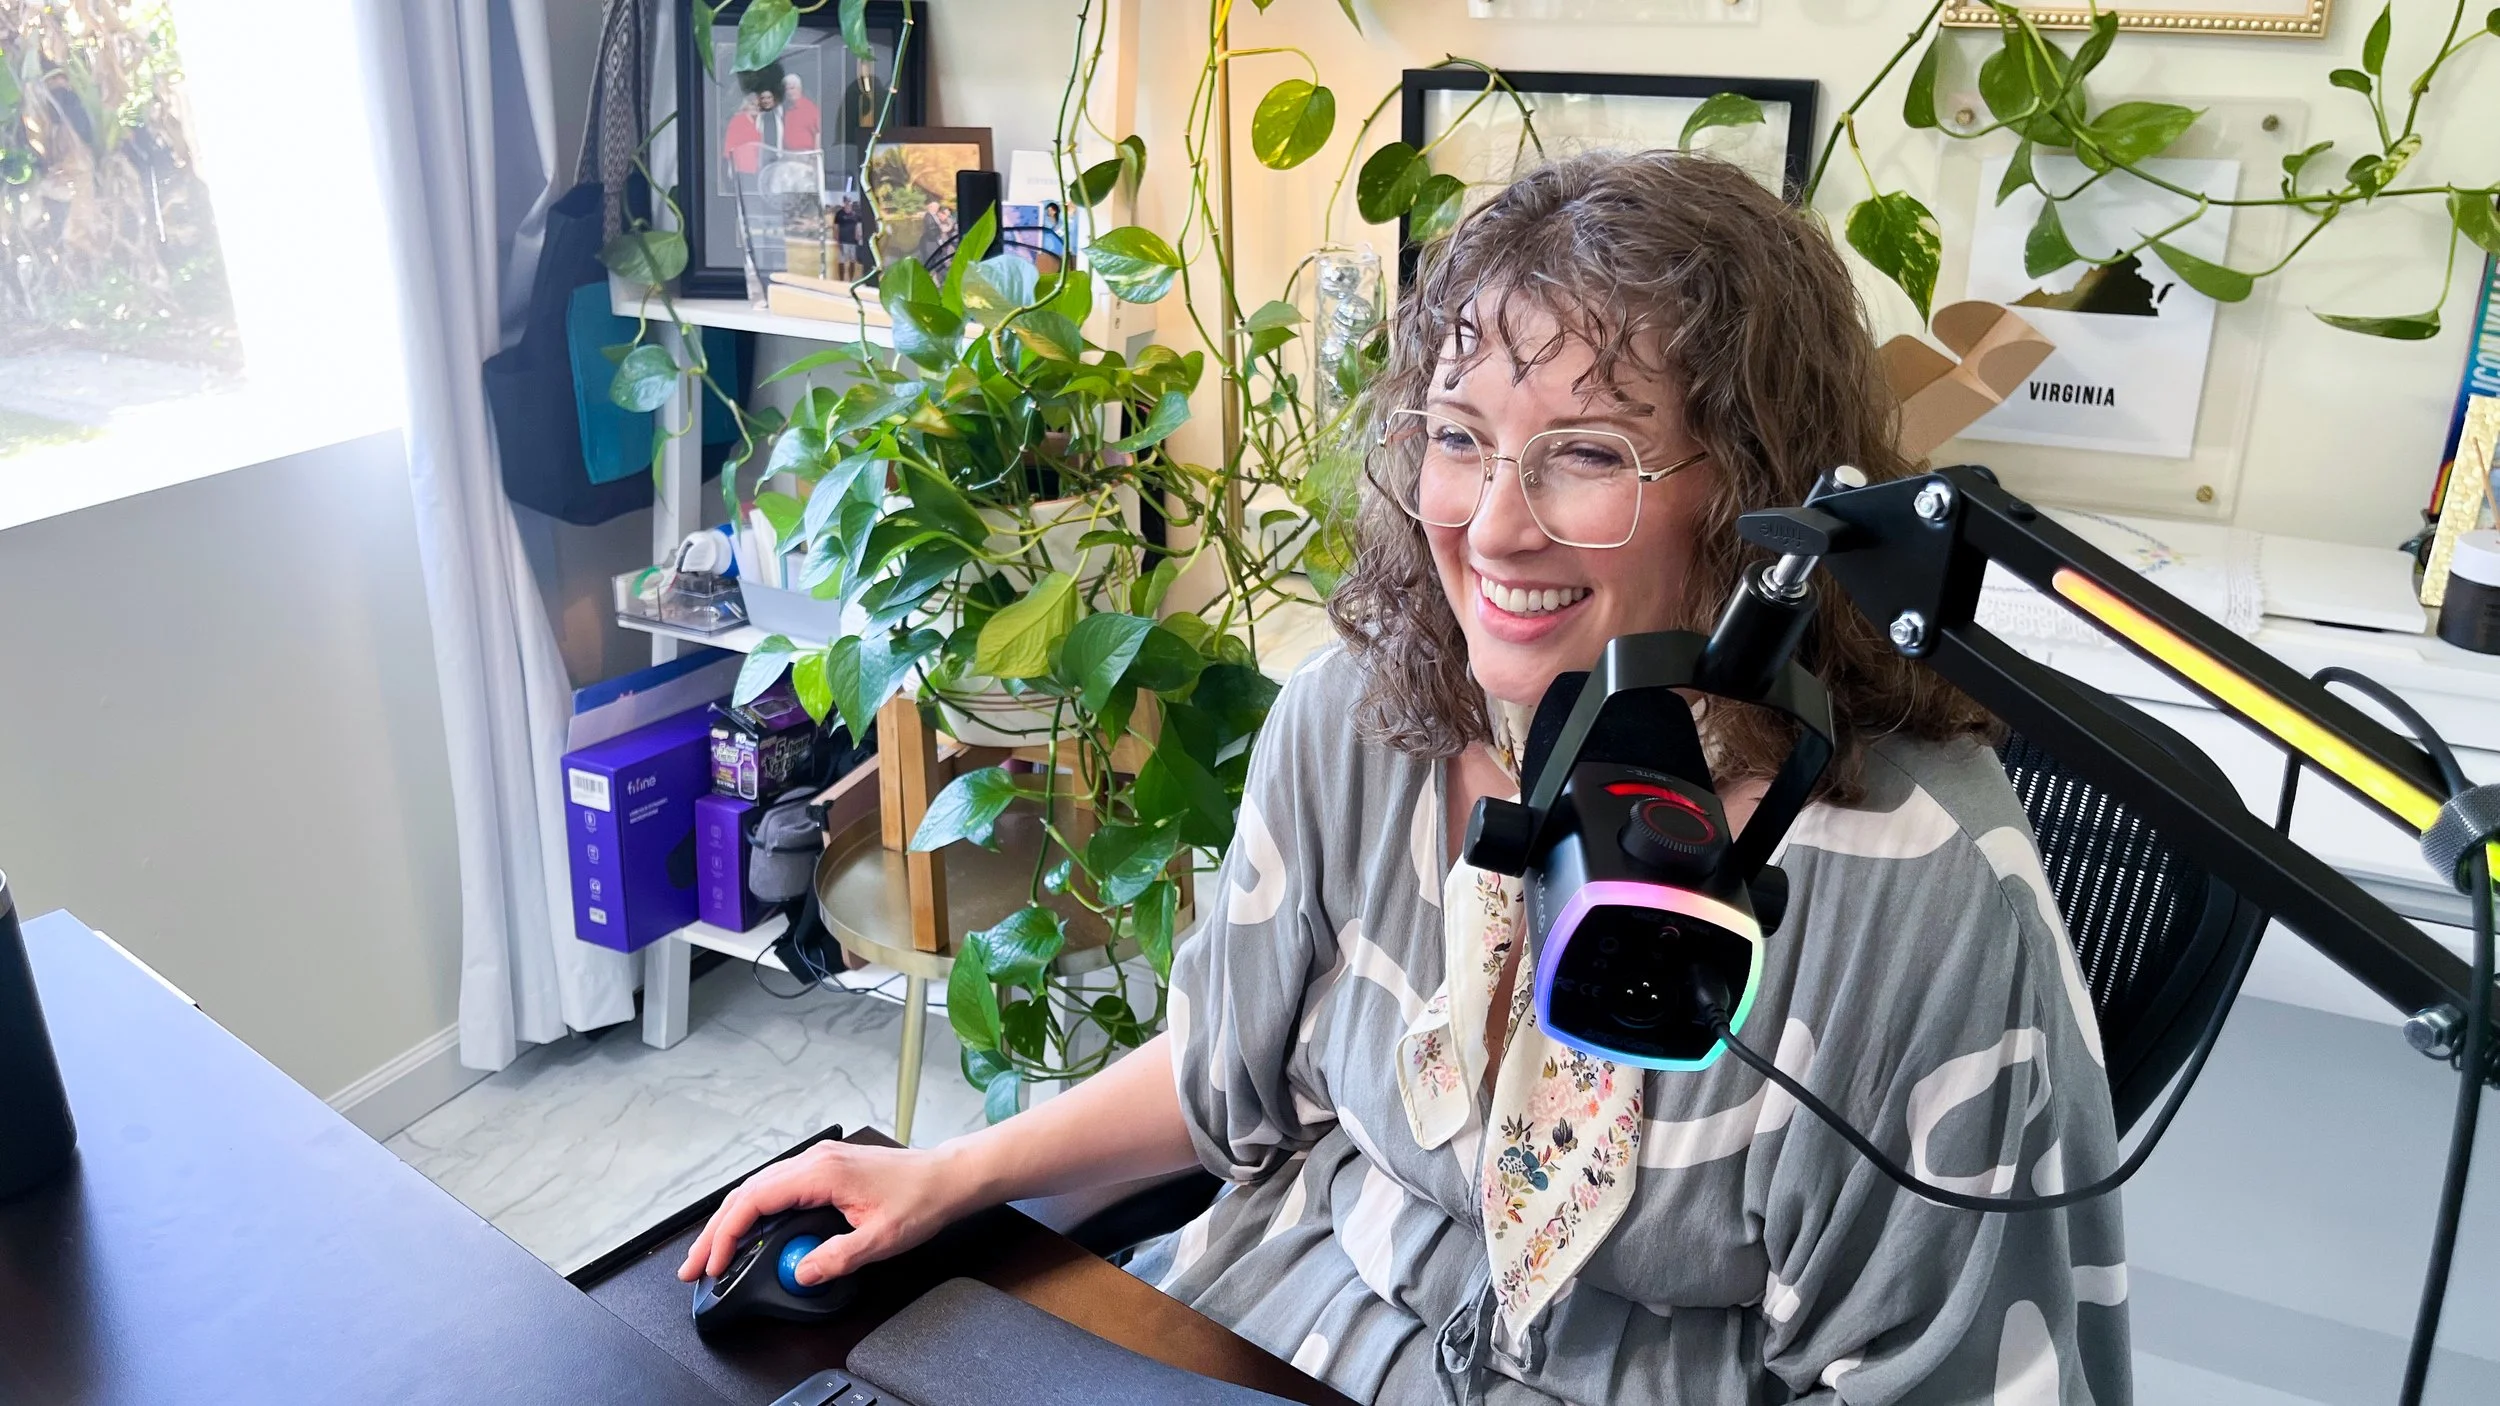
I aspire to be famous because of my voice—speaking or singing. And because of that, I am happy and eager to get my hands on various mics to test their quality and capabilities. The biggest lesson I learned from my first The Sypnotix mic review was that even a high quality mic can’t deliver high quality sound if it’s too far away from the sound source. Since my current work set up doesn’t allow for a mic on a desk stand to be 2-6 inches from my mouth–the standard recommended distance for best sound quality–I knew that the next mic I tested needed to include a boom arm.
And then, as if we manifested it (if you believe in that kind of thing), FIFINE reached out to us to review the AM8PROT mic with a boom arm. The fates were on my side that day.
About the Kit
This kit includes the mic, boom arm, desk clamp, and USB/USB-C mic cable. I have the kit in black, but you can also get it in white or pink. As a gaming- and streaming-focused company, FIFINE also offers this mic and boom arm kit in two other product combinations—one that includes a gaming headset, and one that includes a mixer and XLR cable (coming soon—a separate review of this mixer and XLR cable).
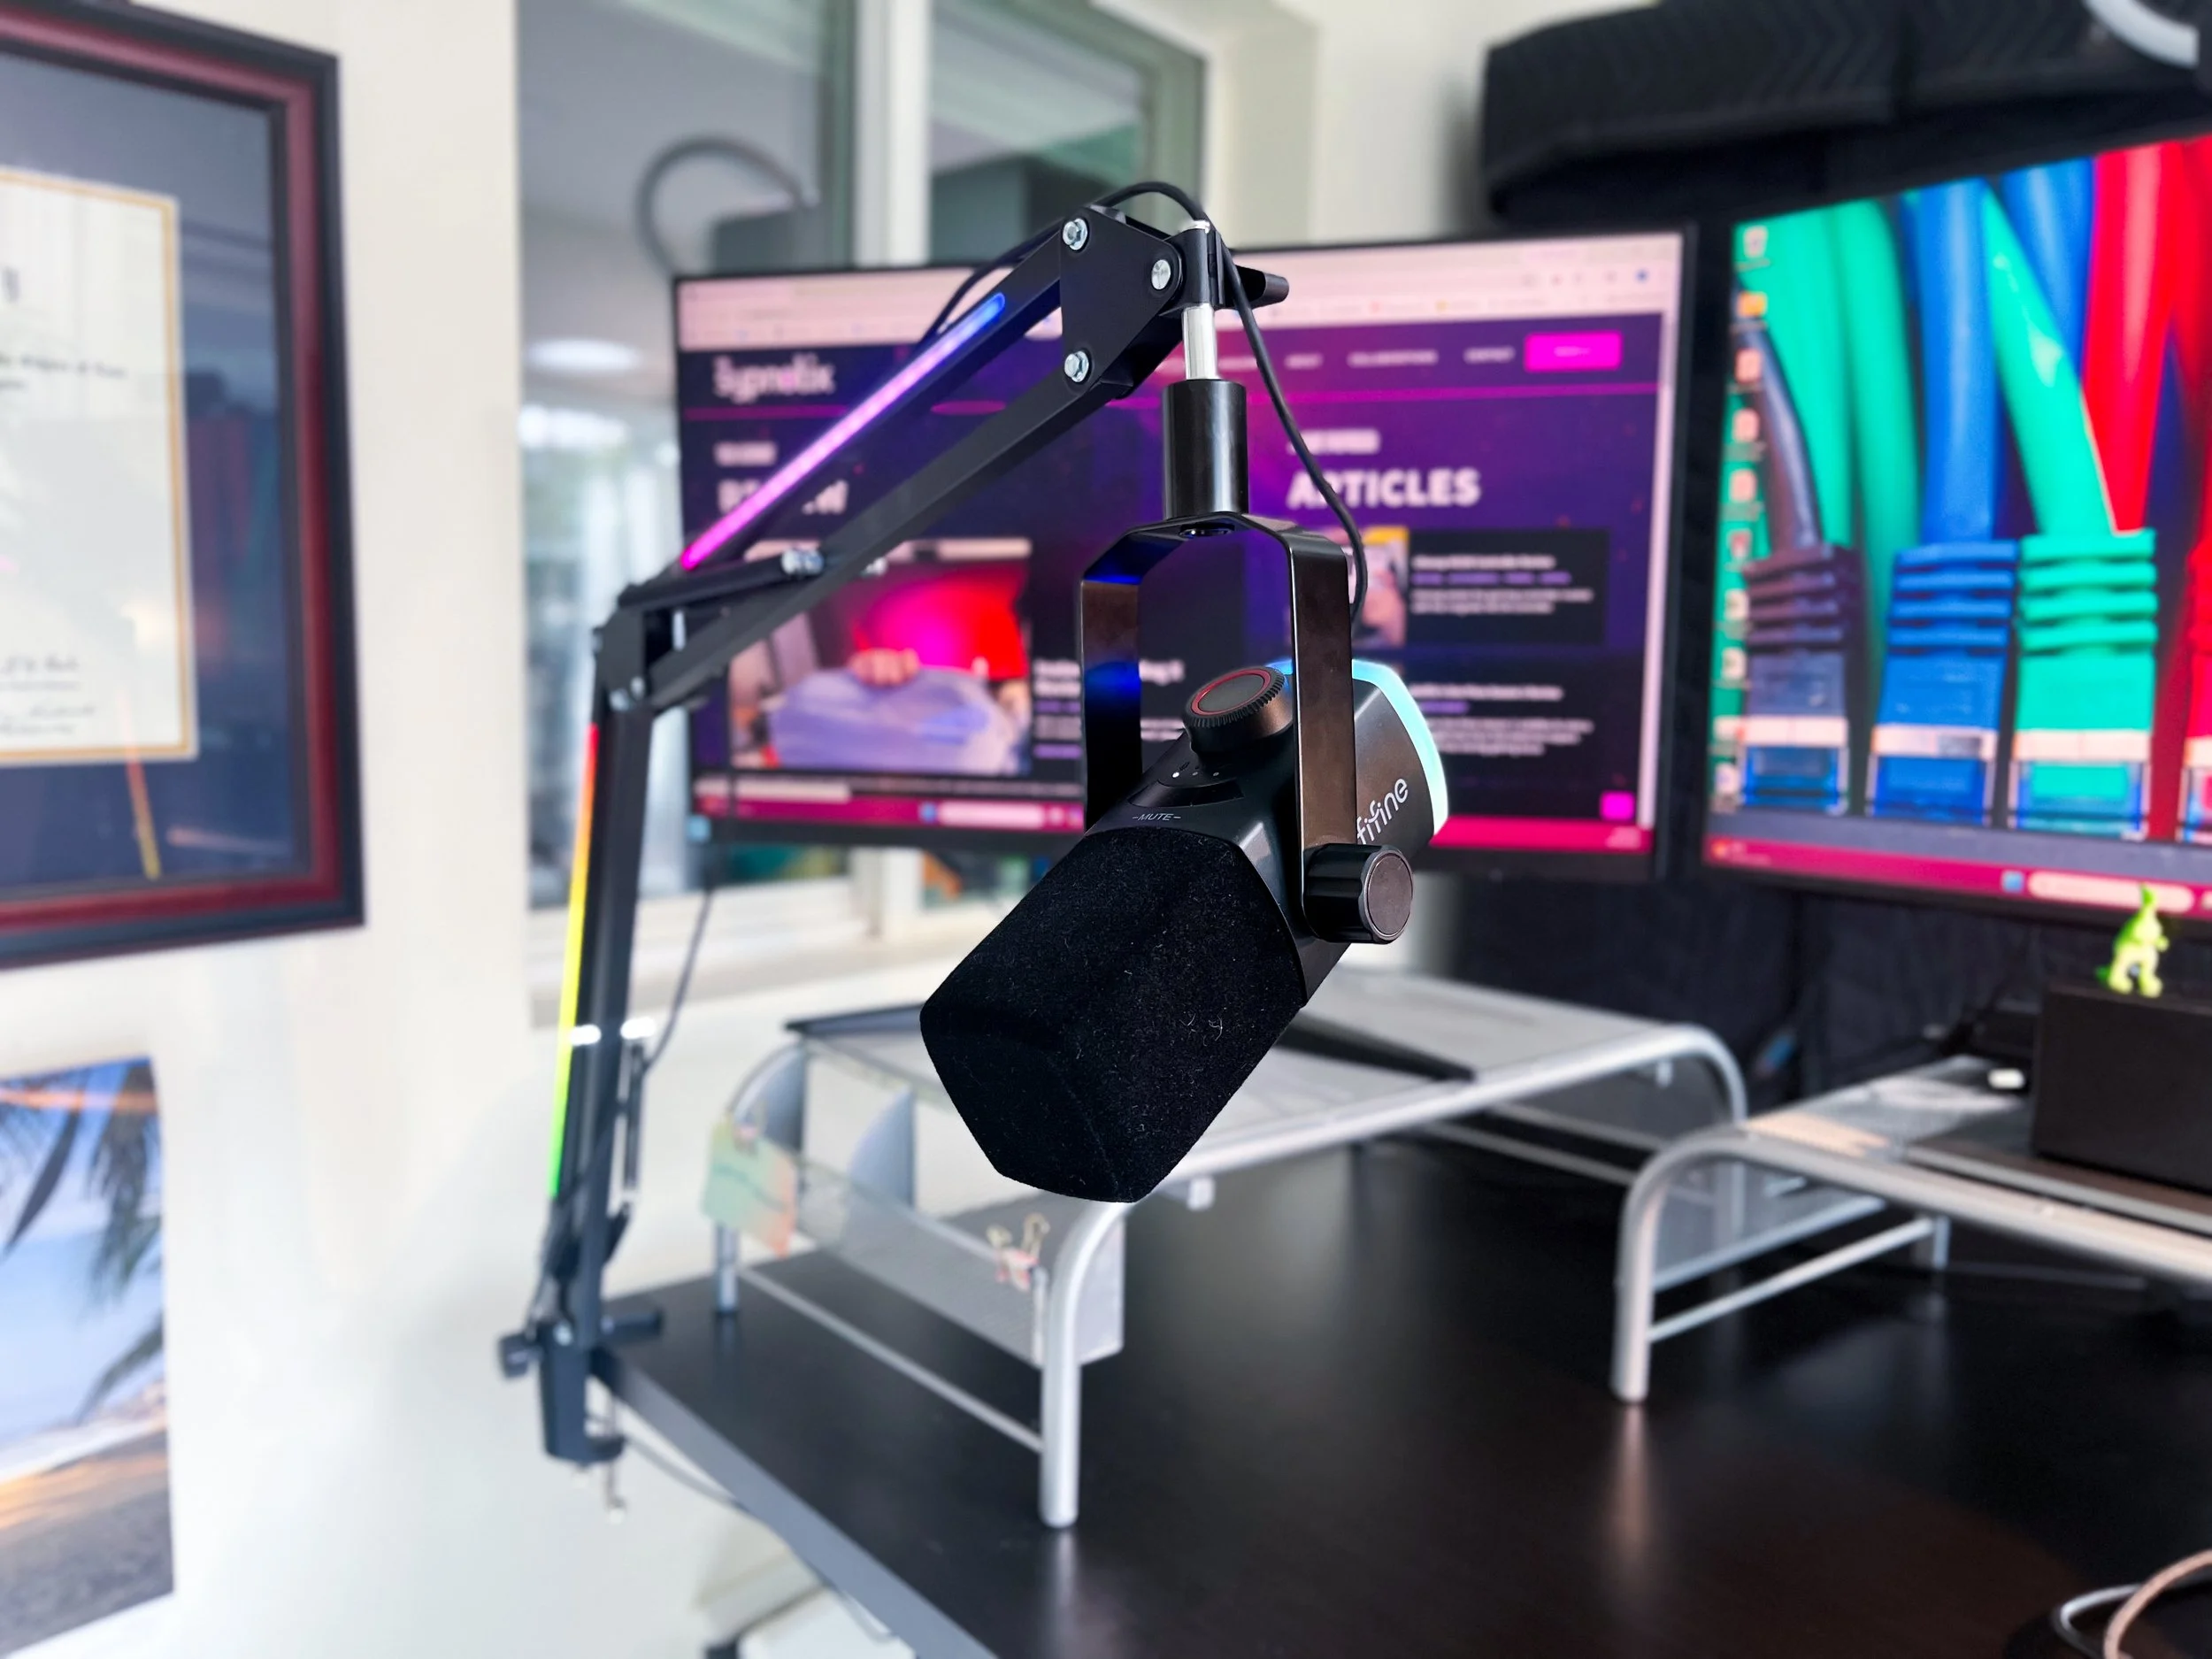
This is a dynamic microphone with a cardioid polar pattern, with the capsule situated at the top, meaning sound will be picked up best from wherever the top is pointed, and it will reject sound from the opposite direction. As a dynamic mic (as opposed to a condenser mic), it will be far more forgiving in a loud or untreated environment, since it doesn’t pick up as much background noise.
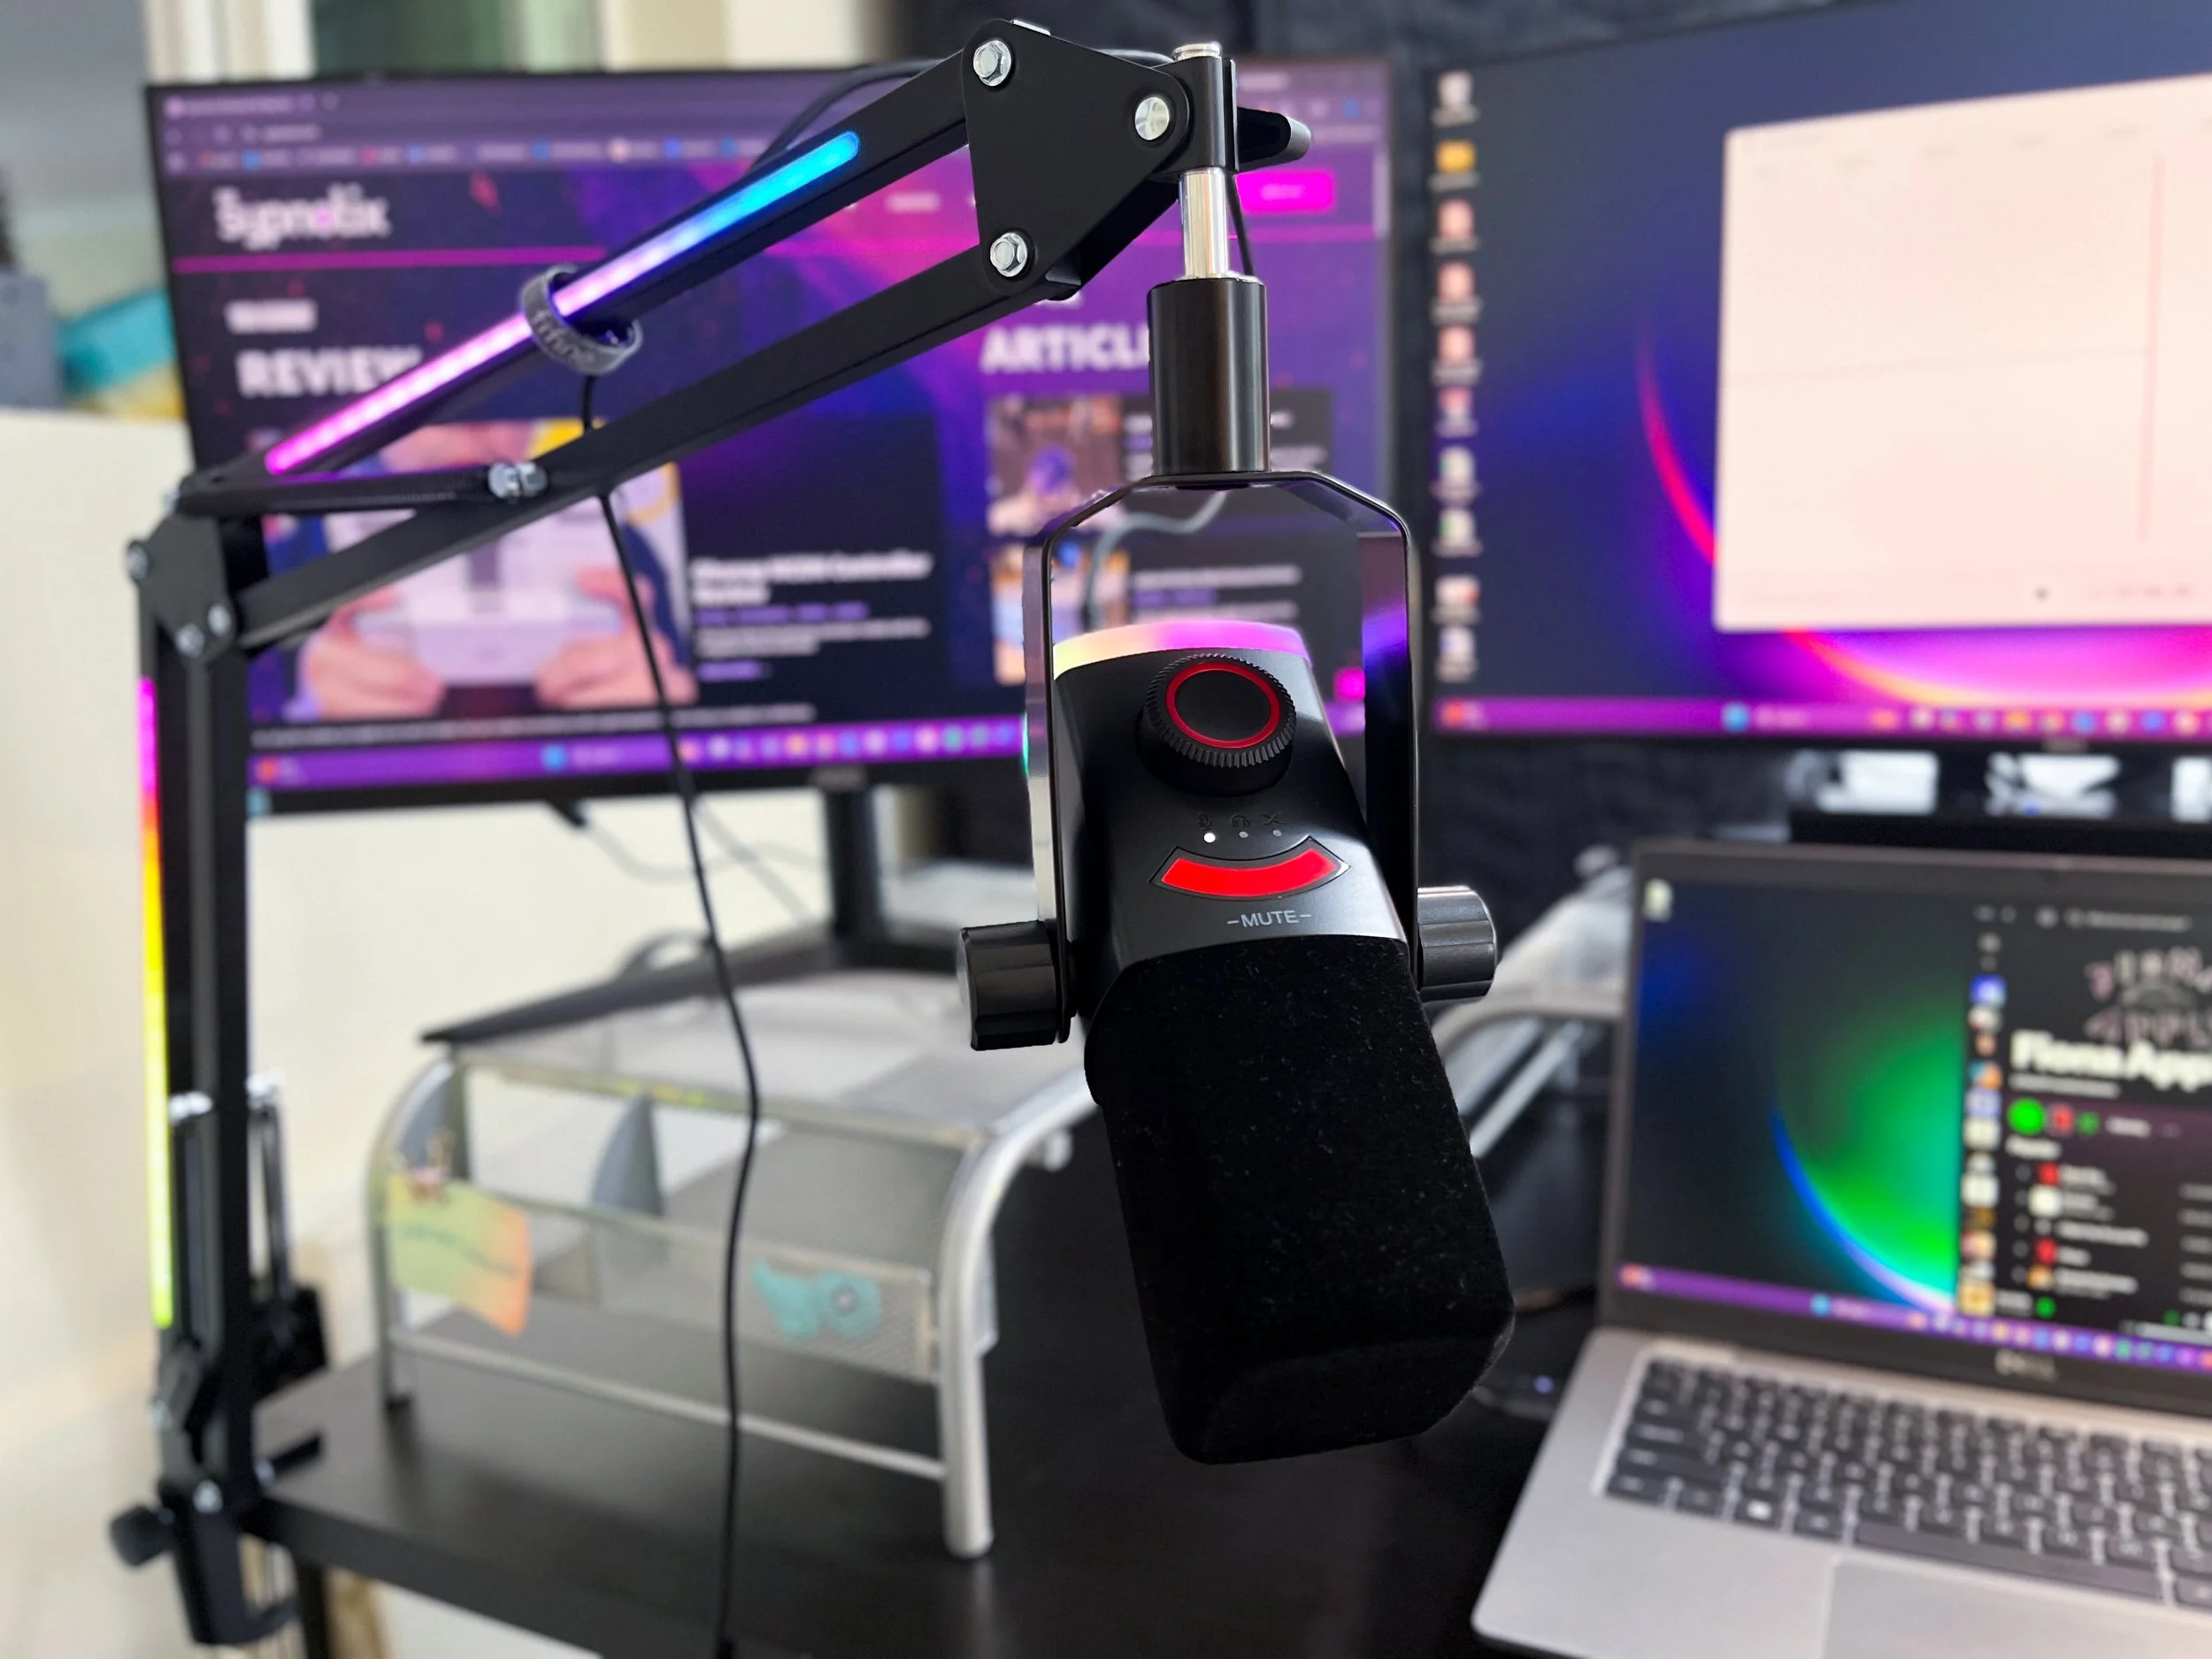
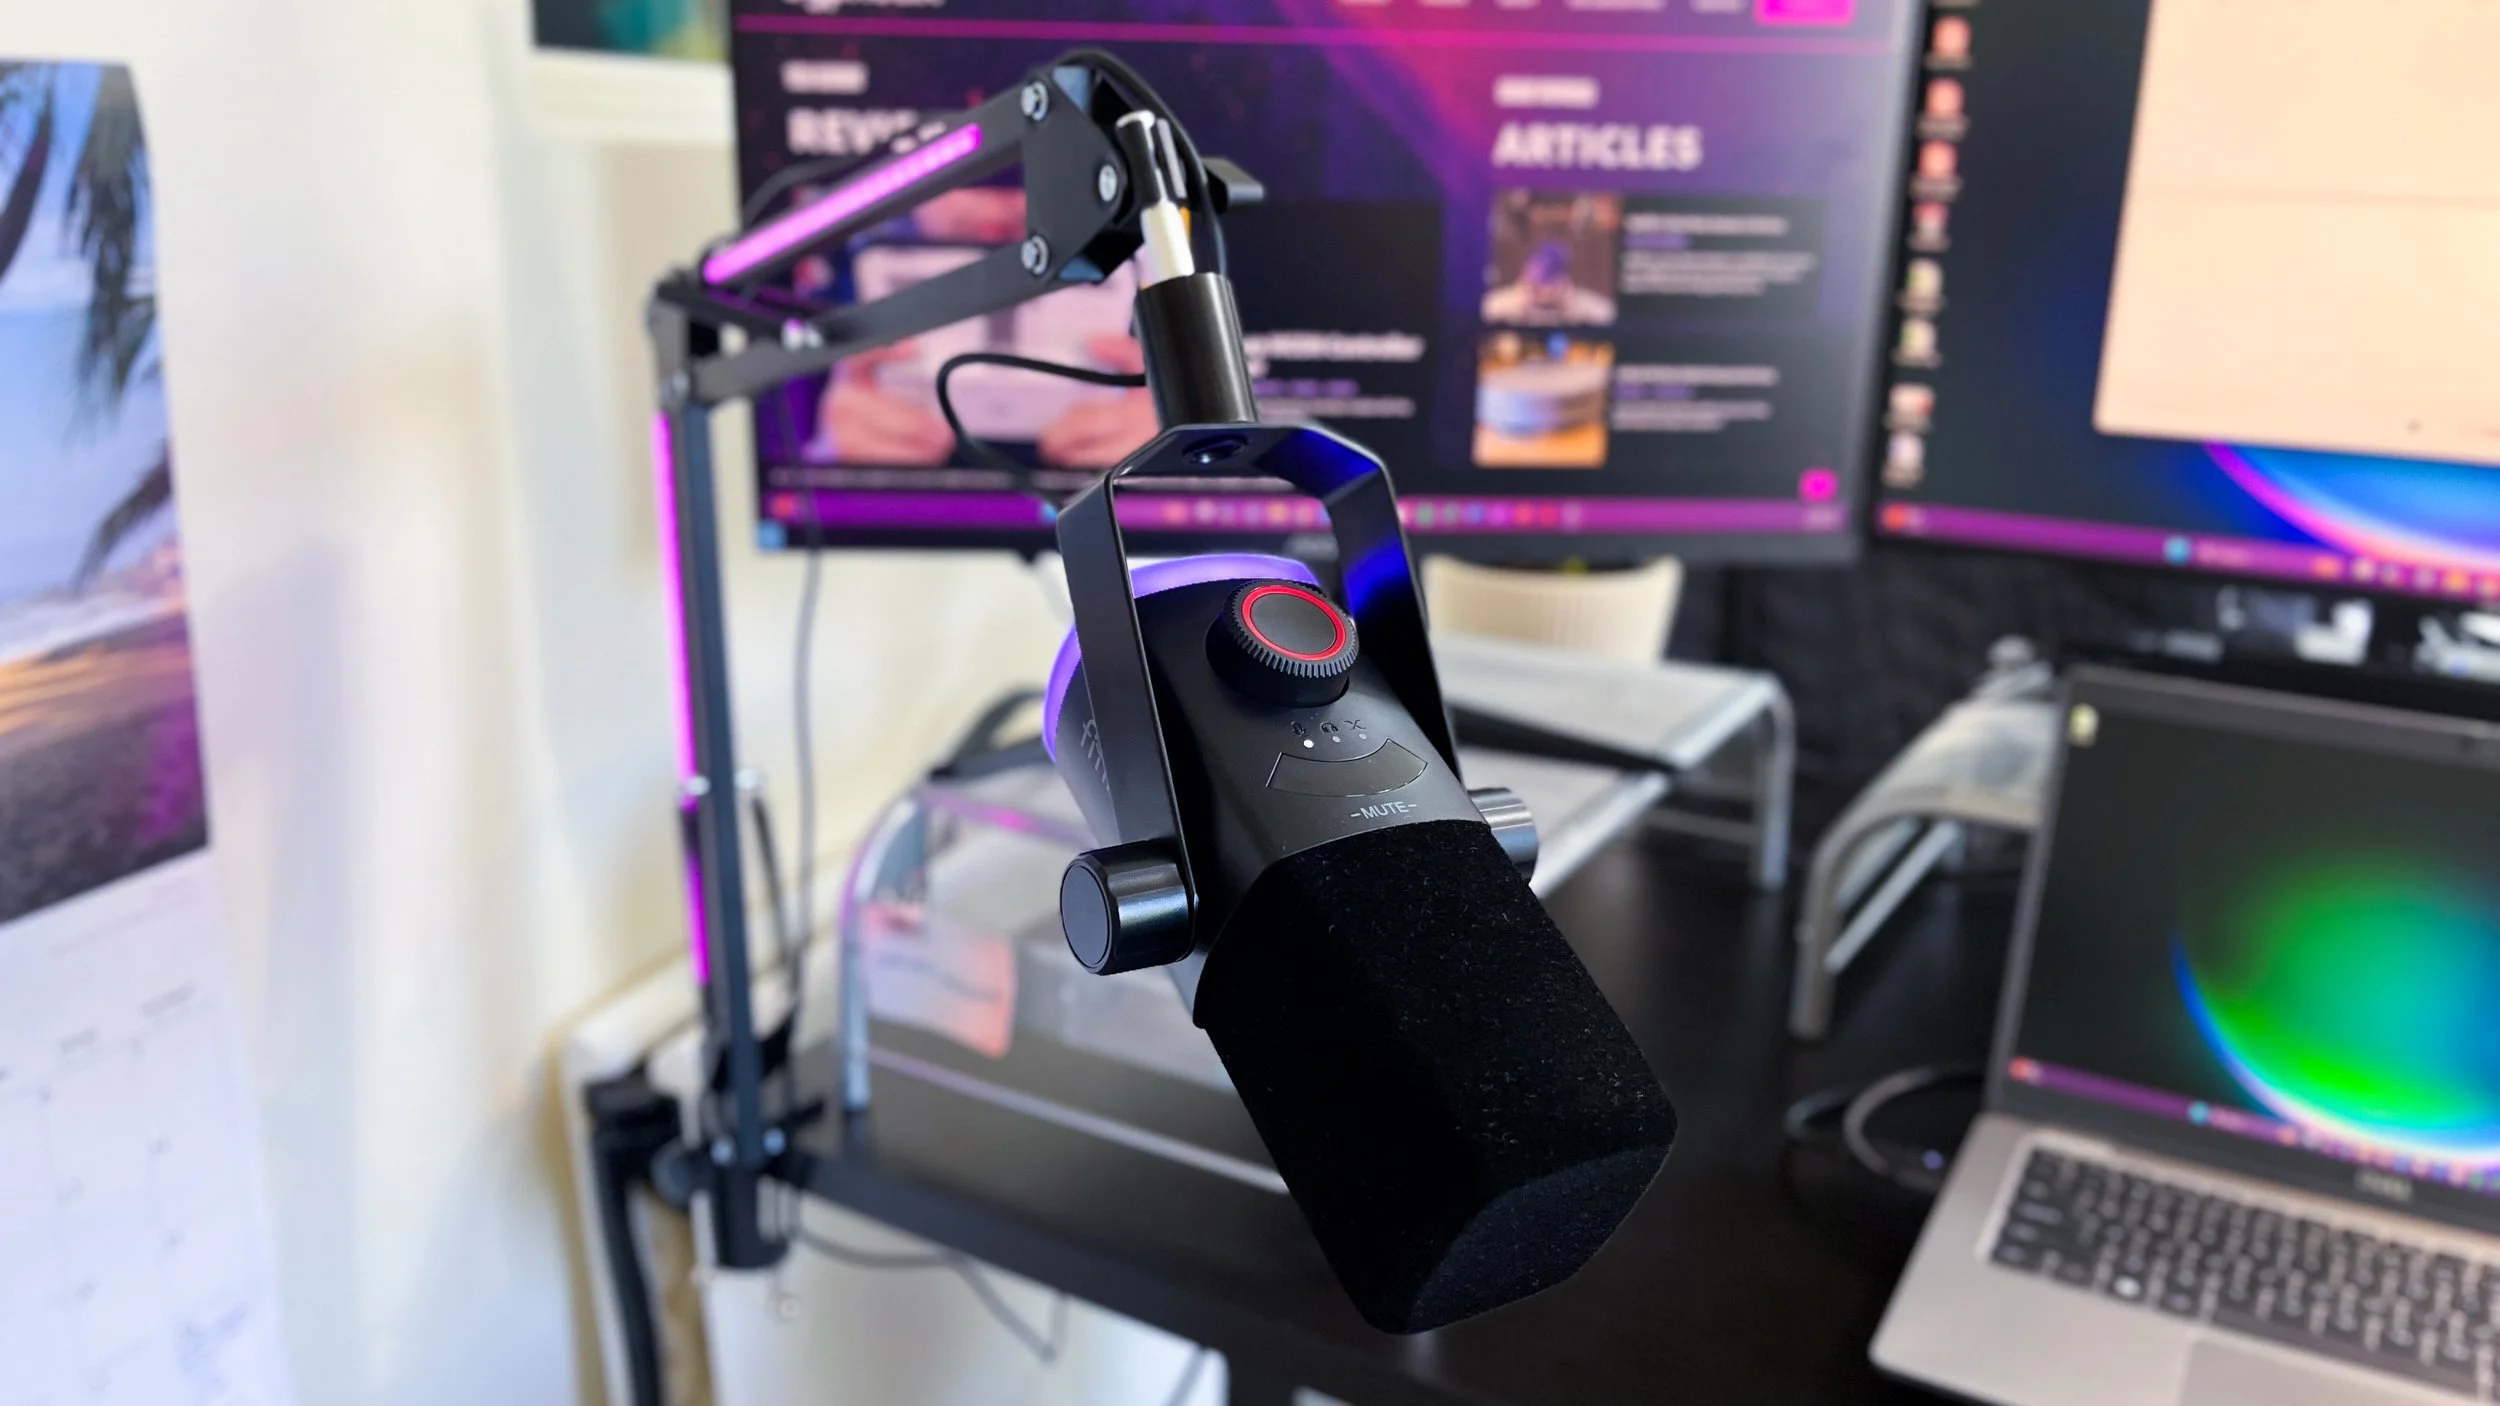
Atop the microphone capsule is a flocking windscreen to protect from plosives and breath noise. The on-board controls—gain, volume, and mix—live on the front of the mic in a single knob. You press the knob to switch between the controls, then view the selected control level on a small crescent-shaped LED screen. You can also mute the mic by tapping -MUTE- just above the screen, which turns red when engaged. When unmuted, the screen gives you a visual of the audio response being picked up by the mic.
The mic has an RGB ring around its base, with 15 preset modes, including 3 modes that sync to the sound capture. The color setting on the RGB ring also corresponds to the LED audio response. Note that when using the mic via XLR, unless you also have the USB cable connected, you will lose the RGB functionality. And even with the USB connection, when in XLR mode, you lose the LED audio response.
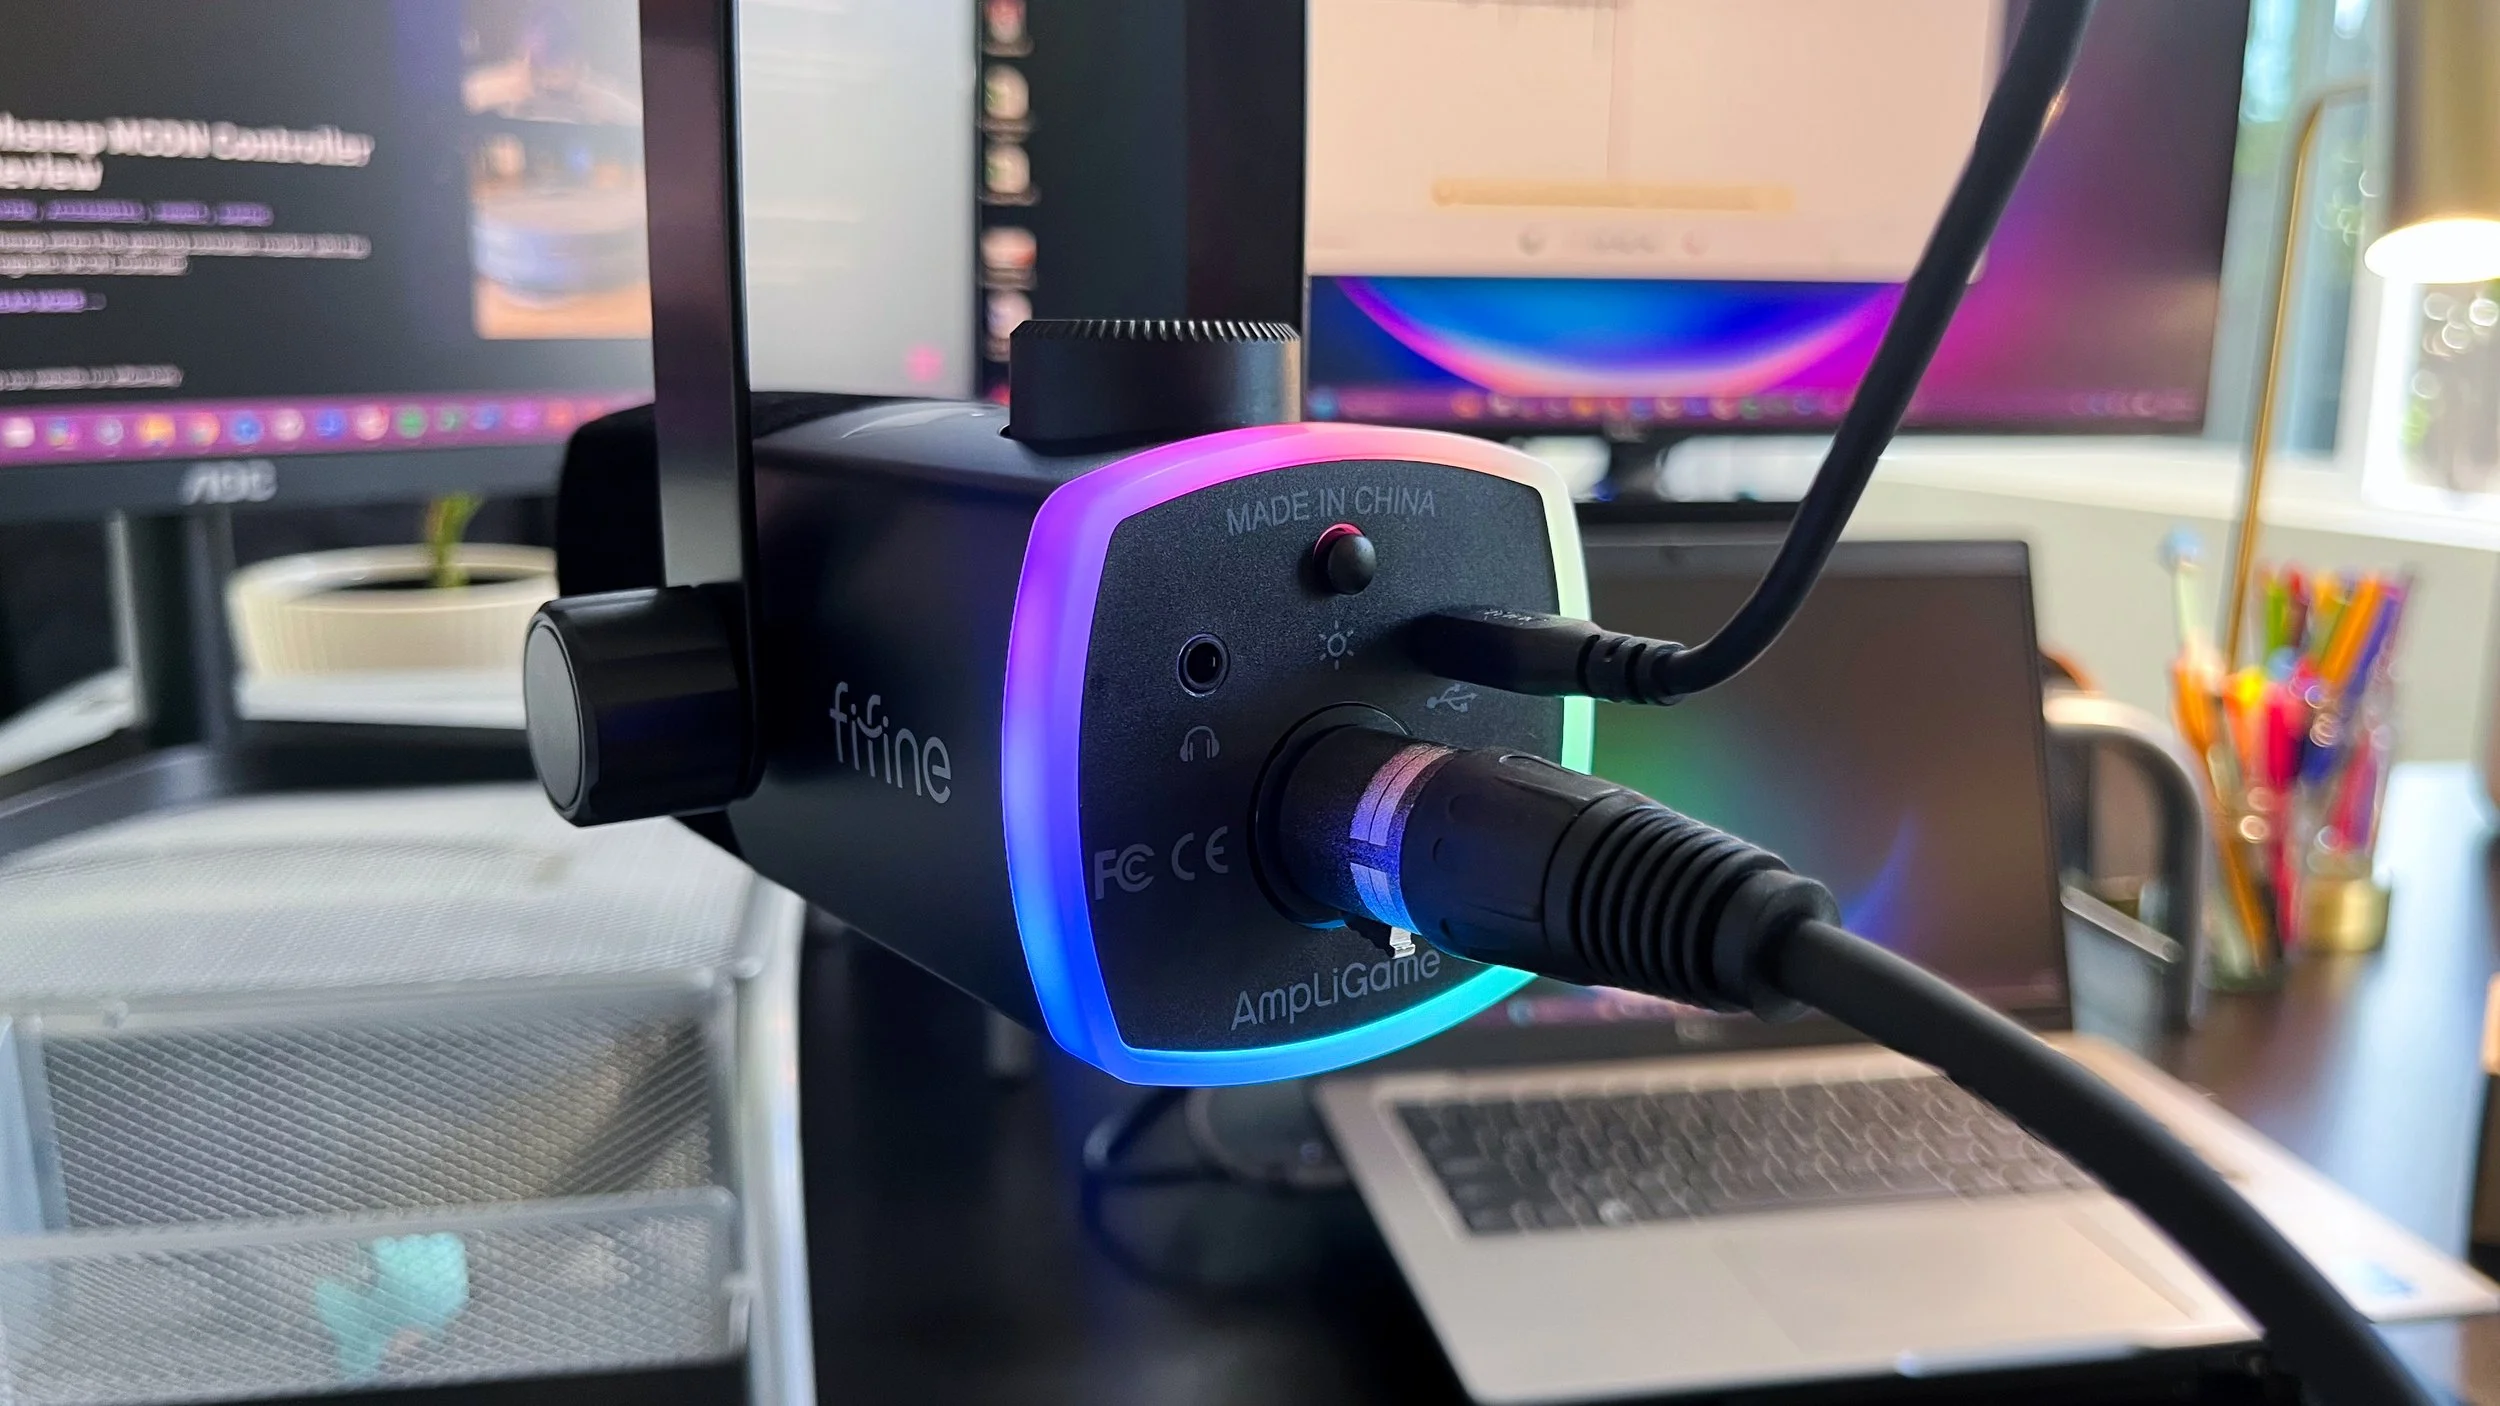
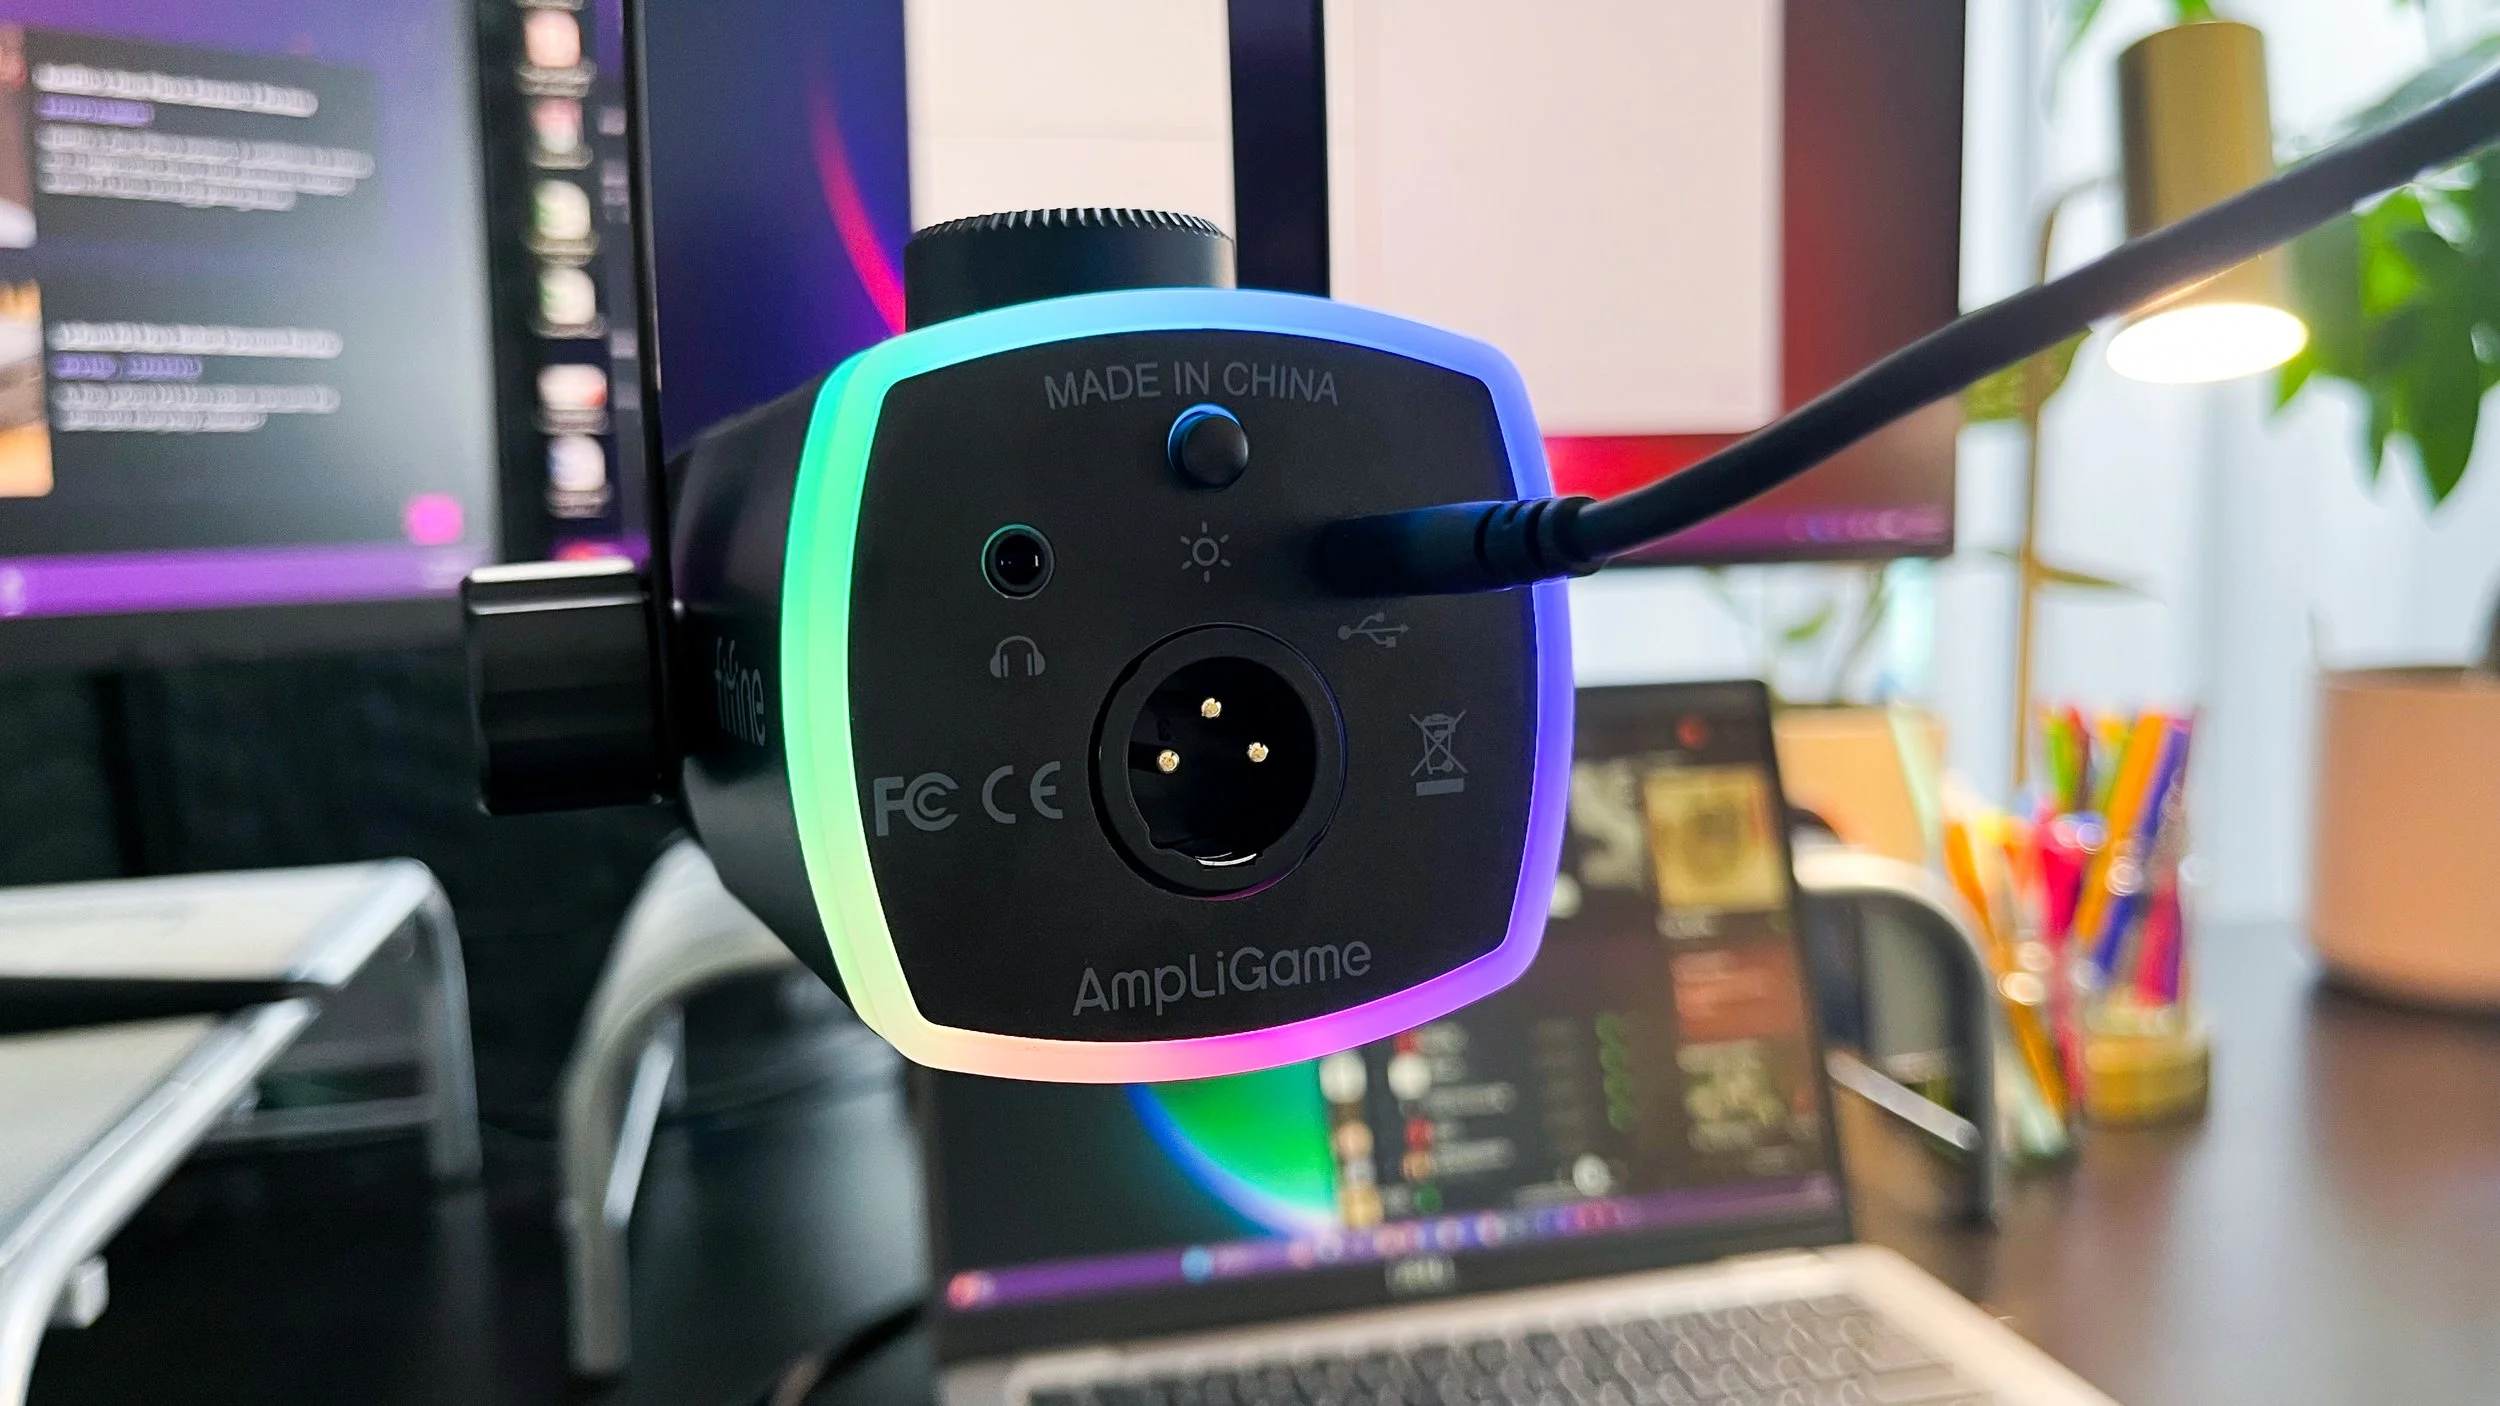
On the bottom of the mic is where you’ll find the RGB control button, a 35mm AUX port for real-time monitoring, a USB-C port, and an XLR port. The mic sits in a Y-harness, which has adjustable knobs on either side, and can connect to a boom arm or desk stand using a 3/8 screw.
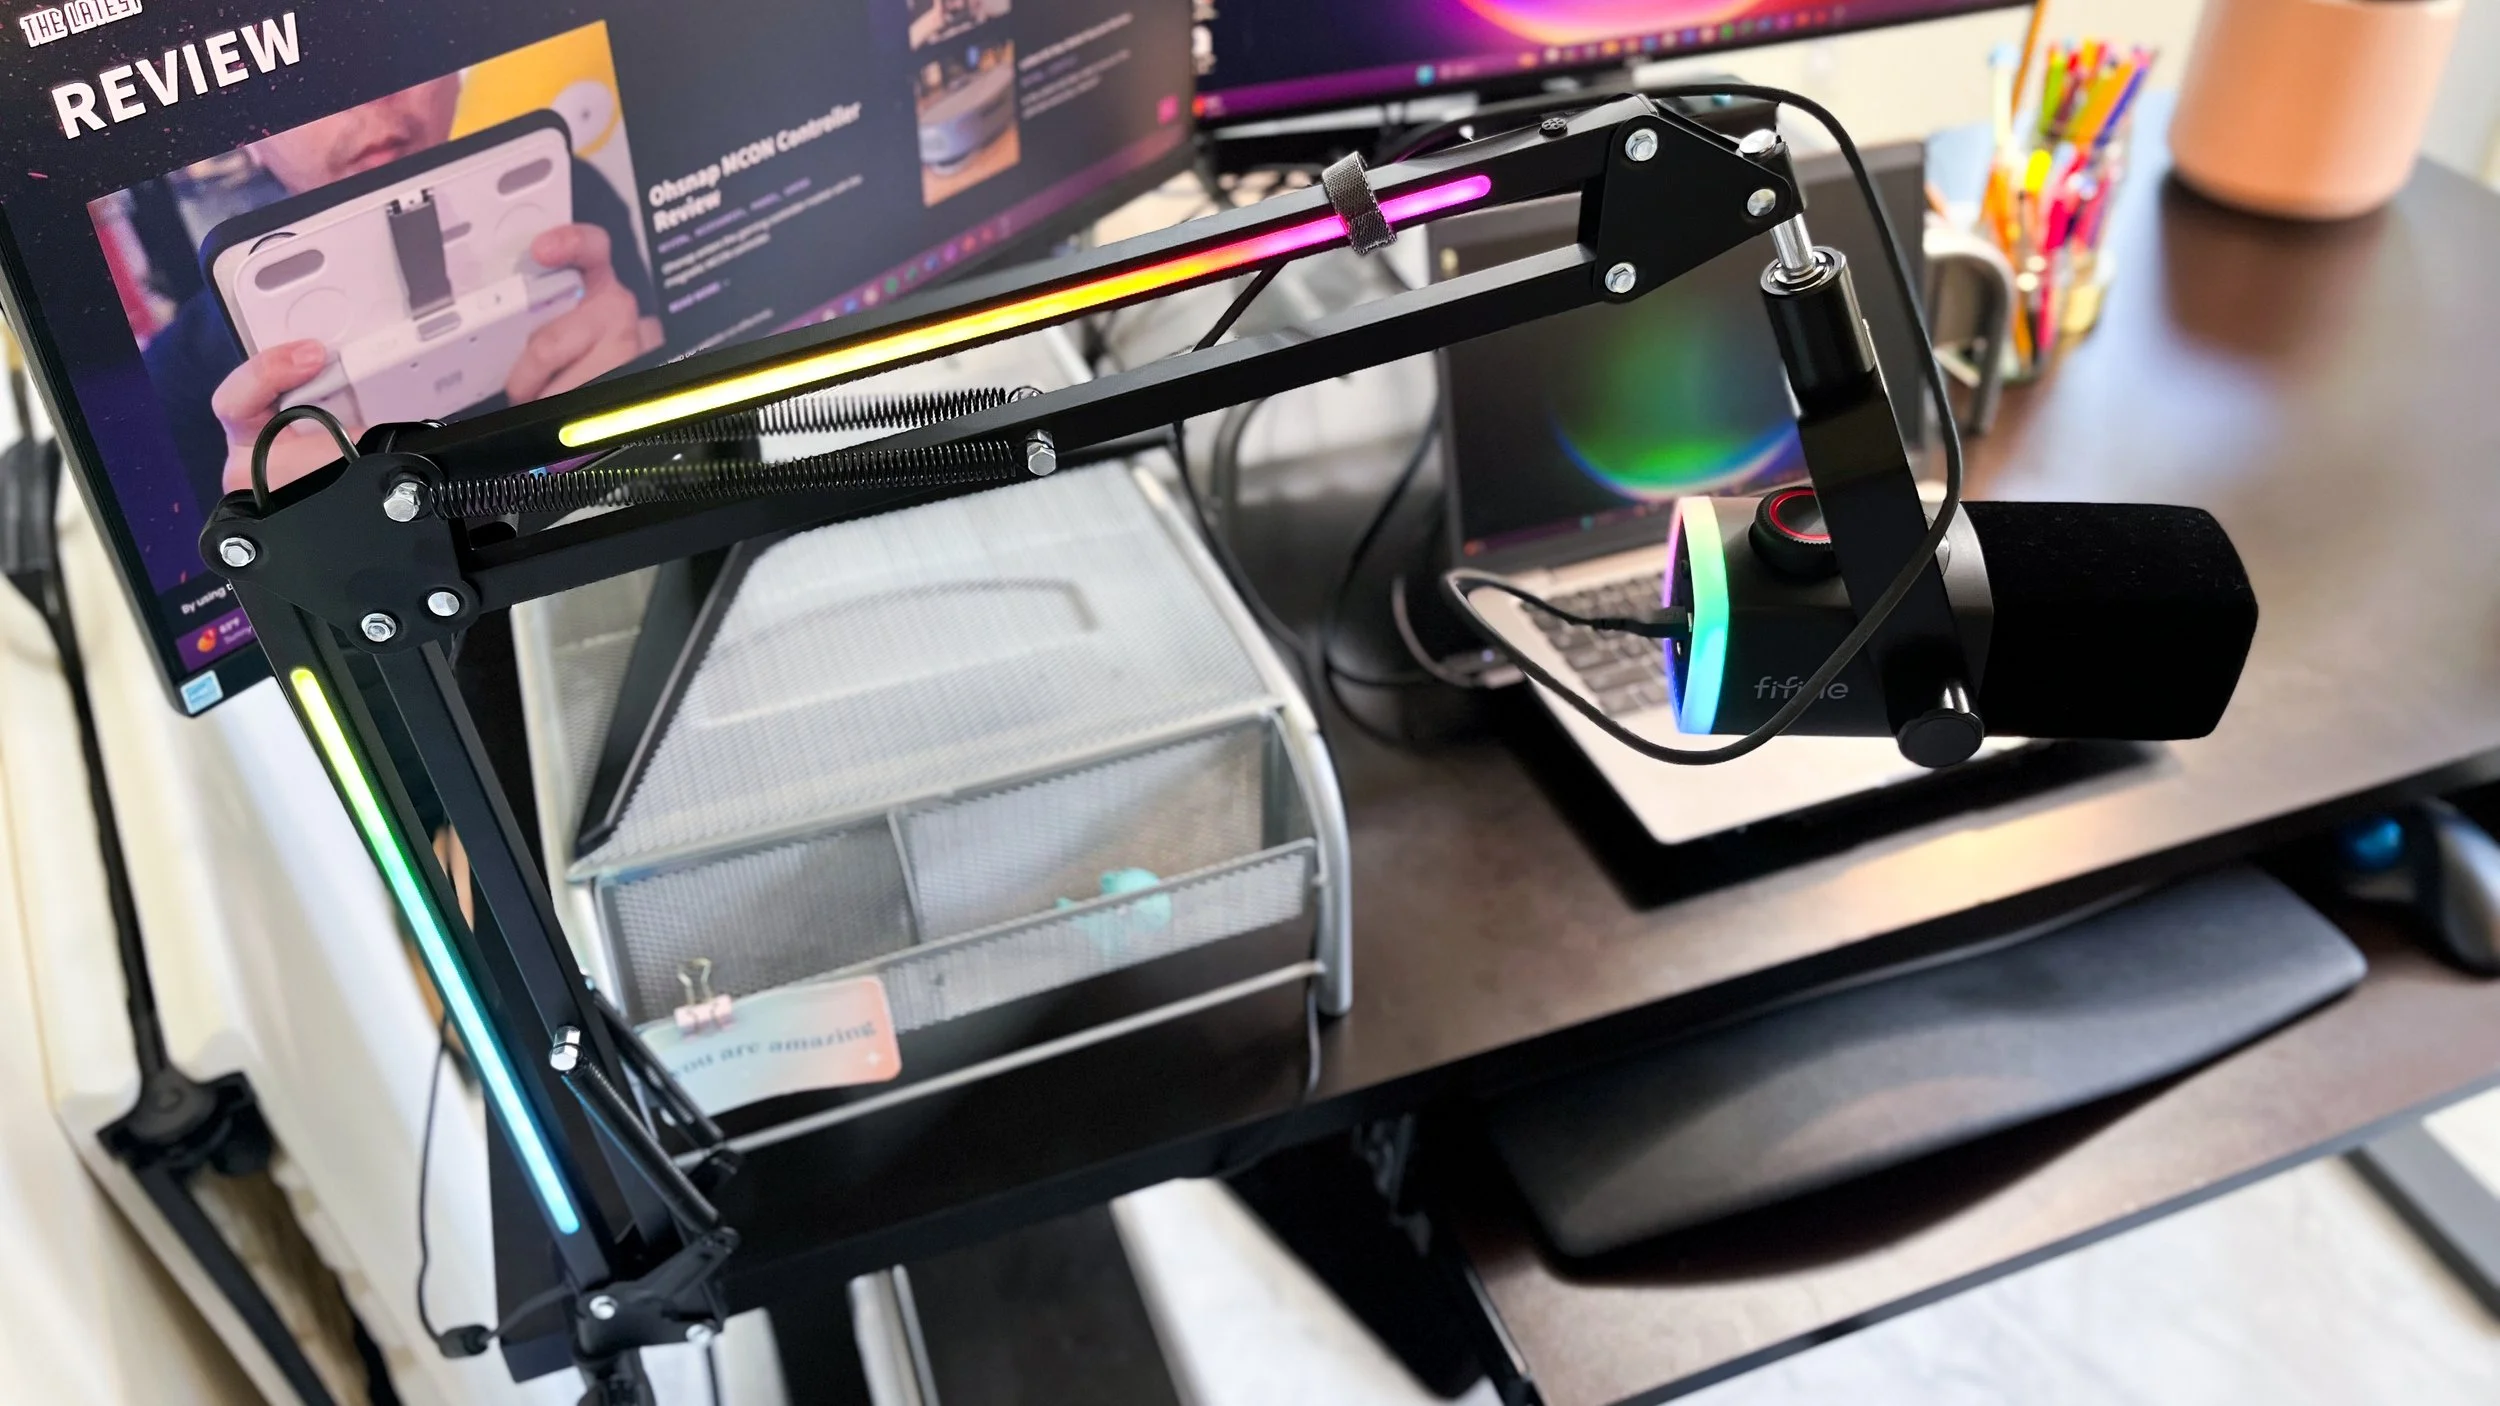
The boom arm is a standard spring-based hinged boom arm, with a desk clamp that can fit over 2 inches. At each joint, there is an adjustable knob for stability. The screw point where the arm connects to a mic is a simple exposed metal plated screw, though it is adaptable for a 3/8 or 5/8 connection. The RGB bars span across the two arm segments, and are displayed on both sides of each segment. The boom arm includes 16 RGB preset modes. The button to change the color is located on the top of the arm, just before the mic screw point, making it easily accessible in the moment.
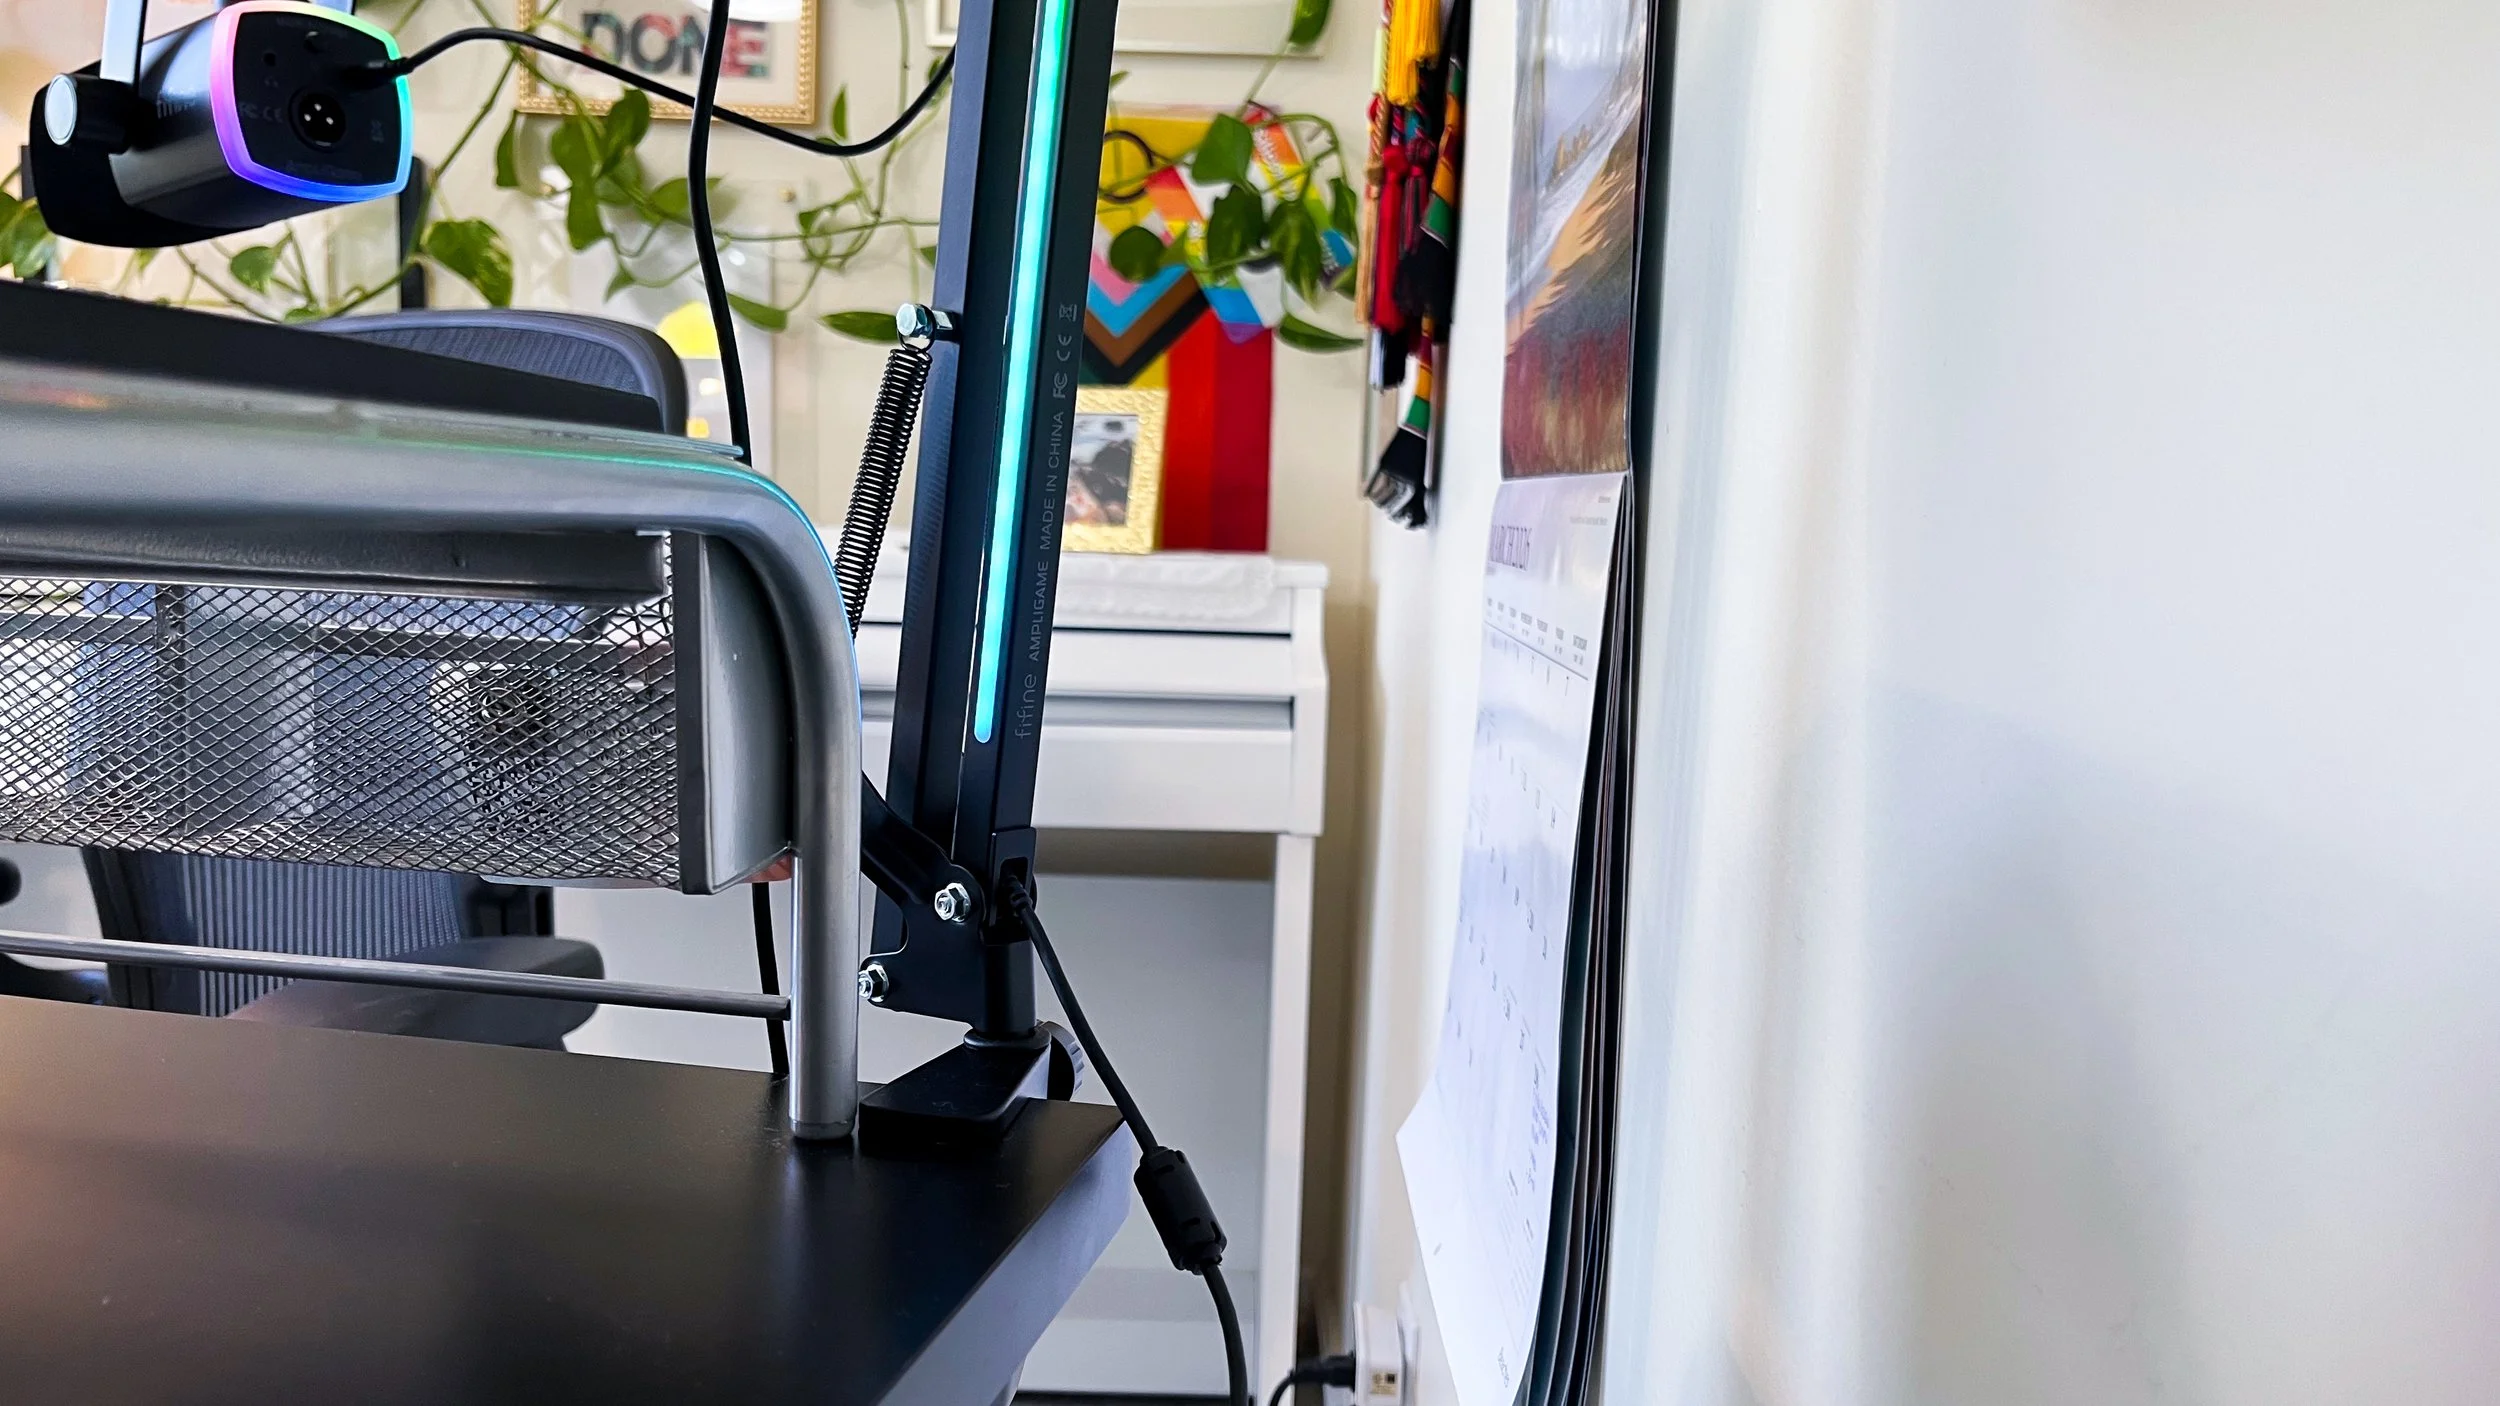
There is no cable management system to speak of. In fact, since the boom arm itself needs to be connected to power for the RGB feature, you see its exposed cable in the elbow joint, not to mention the long cable that comes out the end.
Setting up this kit right out of the box was very easy and intuitive. And any questions I had were answered in the very helpful user guide. FIFINE generally does a great job with their user guides, which include helpful drawings, screenshots for Windows and Mac, and common application examples–like what settings to use in a recording software like Audacity.
My Thoughts
I’ve had the mic for a few weeks now, and have been using it almost daily for work, both at my desk and in my portable recording booth, where the environment is far more favorable.
RGB
I really enjoyed playing around with the RGB ring on the mic and the bars on the boom arm. I work a fully-remote desk job, so it was fun to bring a little whimsy to meetings about emails and products and lawyers. While the mic and boom arm share many of the color settings, like most of the static single colors, multicolored gradient, and the rainbow flowing, there is no way to formally sync the two products. If you want them doing the same thing, you have to pick one of the settings that they both happen to have.
My one nit on the lights (because syncing them isn’t that big of a deal to me), is the placement of the color button on the arm. Yes, it’s in a position where it’s easy to access while you’re using the mic, but it’s also in the exact spot where I naturally grab the arm to make adjustments. I regularly unintentionally switch the color, and that’s just annoying.
The Mic
Generally, I appreciate a mic with on-board controls, and here, I appreciate what FIFINE was trying to do by condensing three functions into a single button/knob, but ultimately, I’m not a fan of the execution. Having to click through the options to get to the control you need requires you to mute yourself in a live situation. Otherwise, your audience is going to hear every single movement. The mic is not forgiving when it comes to touching the body of the mic or the boom arm.
Then, when you click through to the gain, volume, or mix, you are left with an imprecise measure because the levels that appear on the LED screen have a soft fade at the high point, so it’s unclear what level you end up at. This also means you can’t really note what settings to use in the future. On top of that, the knob is very easily adjusted—almost too easily—making keeping track of your levels even harder. And since the level settings disappear from the screen unless you are actively adjusting them, it would be really easy to mistakenly adjust your gain, for example, and unless you’re wearing headphones for real-time monitoring, not notice until everything is said and done and you are listening in post.
This mic confirmed for me that when it comes to on-board controls, I prefer to keep them separated and with the settings visible at all times.
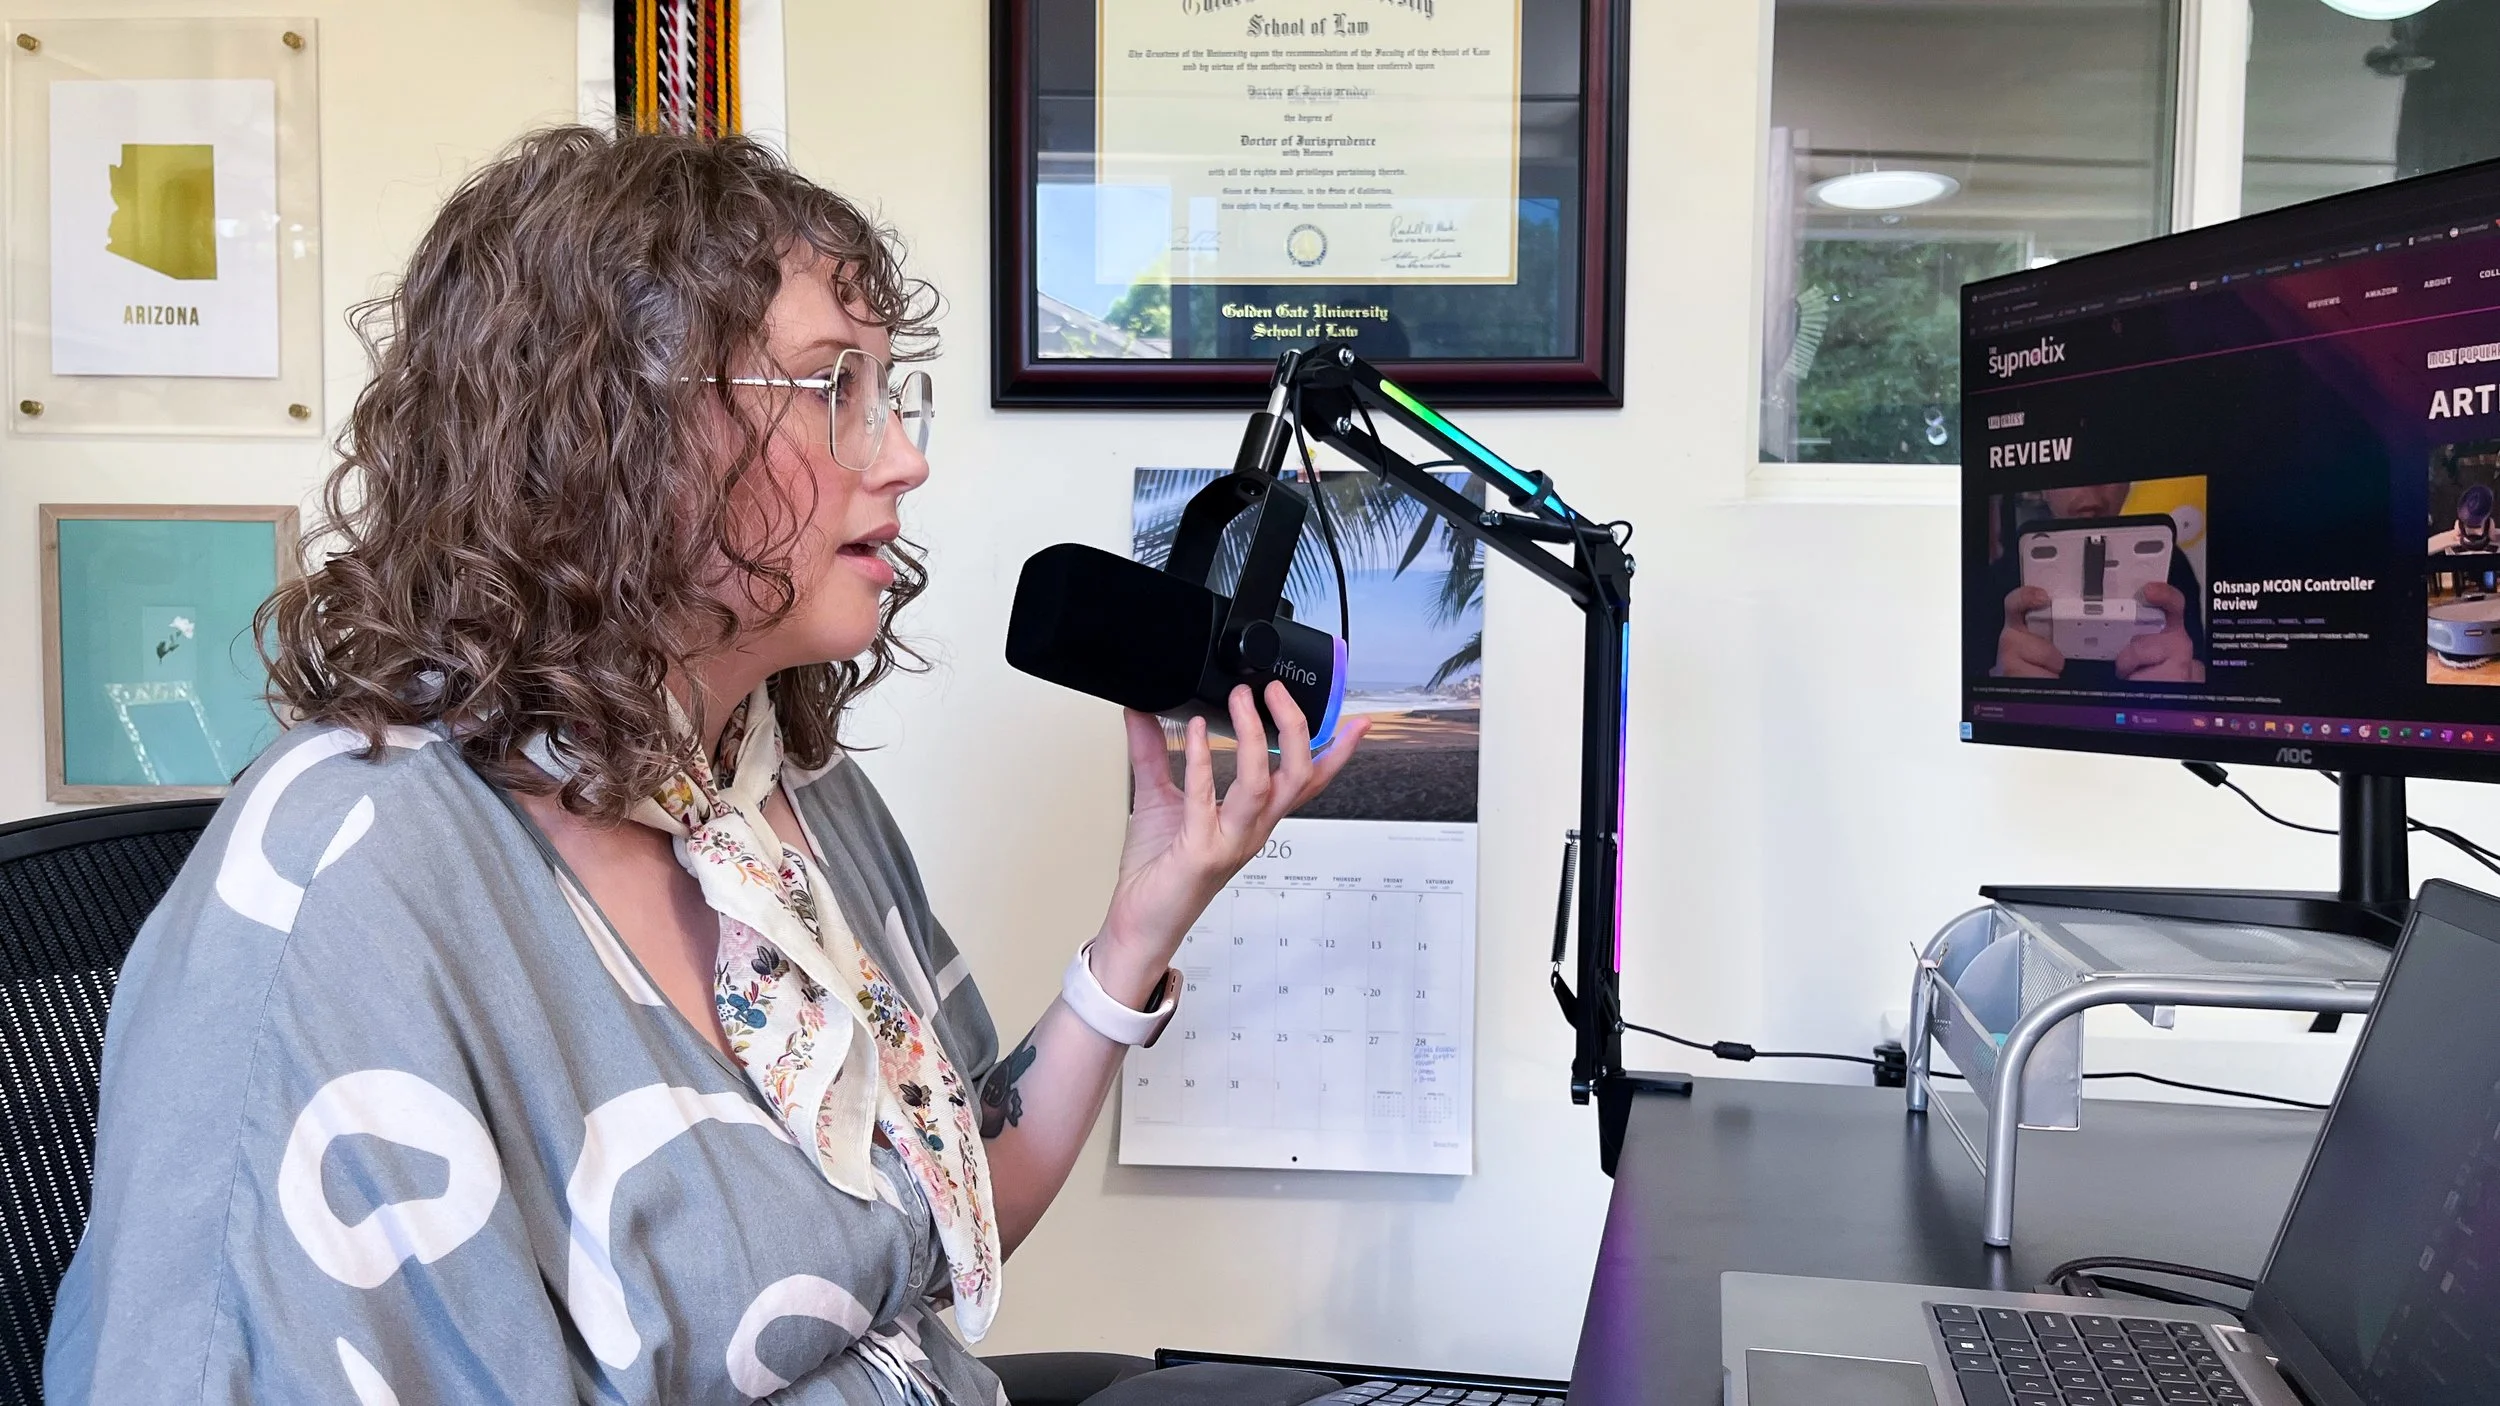
The tap-to-mute feature is nice, with the visible indicator of the red screen, but because the capsule is situated at the end of the mic, I found it hard to use the mute feature discreetly in my meetings because my hand needed to reach over on top of the mic to press it. Mics where the mute button and the capsule live on the front face of the mic together are much easier to be discreet with, if that matters to you. I learned that, while it’s not necessarily a deal breaker for me, I prefer the latter.
This might be nit-picky, but with the capsule situated at the “top” (their language in the user guide), I would expect any writing on the mic to be oriented accordingly. But since they assume that most users will orient the mic, so that the capsule is facing downward, the onboard control icons and “MUTE” are oriented to accommodate that. If you prefer to have your end-capsule mic oriented up from below, just know that you will be looking at the icons upside down.
My final nit for the mic are the screw points on either side of the body of the mic, attaching it to the Y-harness. Every time you adjust the mic between those screw points, you have to double check that the screws have not loosened completely. Nine times out of ten, you will need to retighten them significantly.


The Boom Arm
Aside from the RGB feature, there is nothing special about this boom arm. It appears the boom arm construction quality suffered in order to get the mic and arm package under $80. Looking at FIFINE’s other boom arm products, it looks like they took their $20 base arm, and added RGB bars. The spring-based design is not very sleek, and definitely does not help buffer against the mic picking up an accidental bump of the arm.
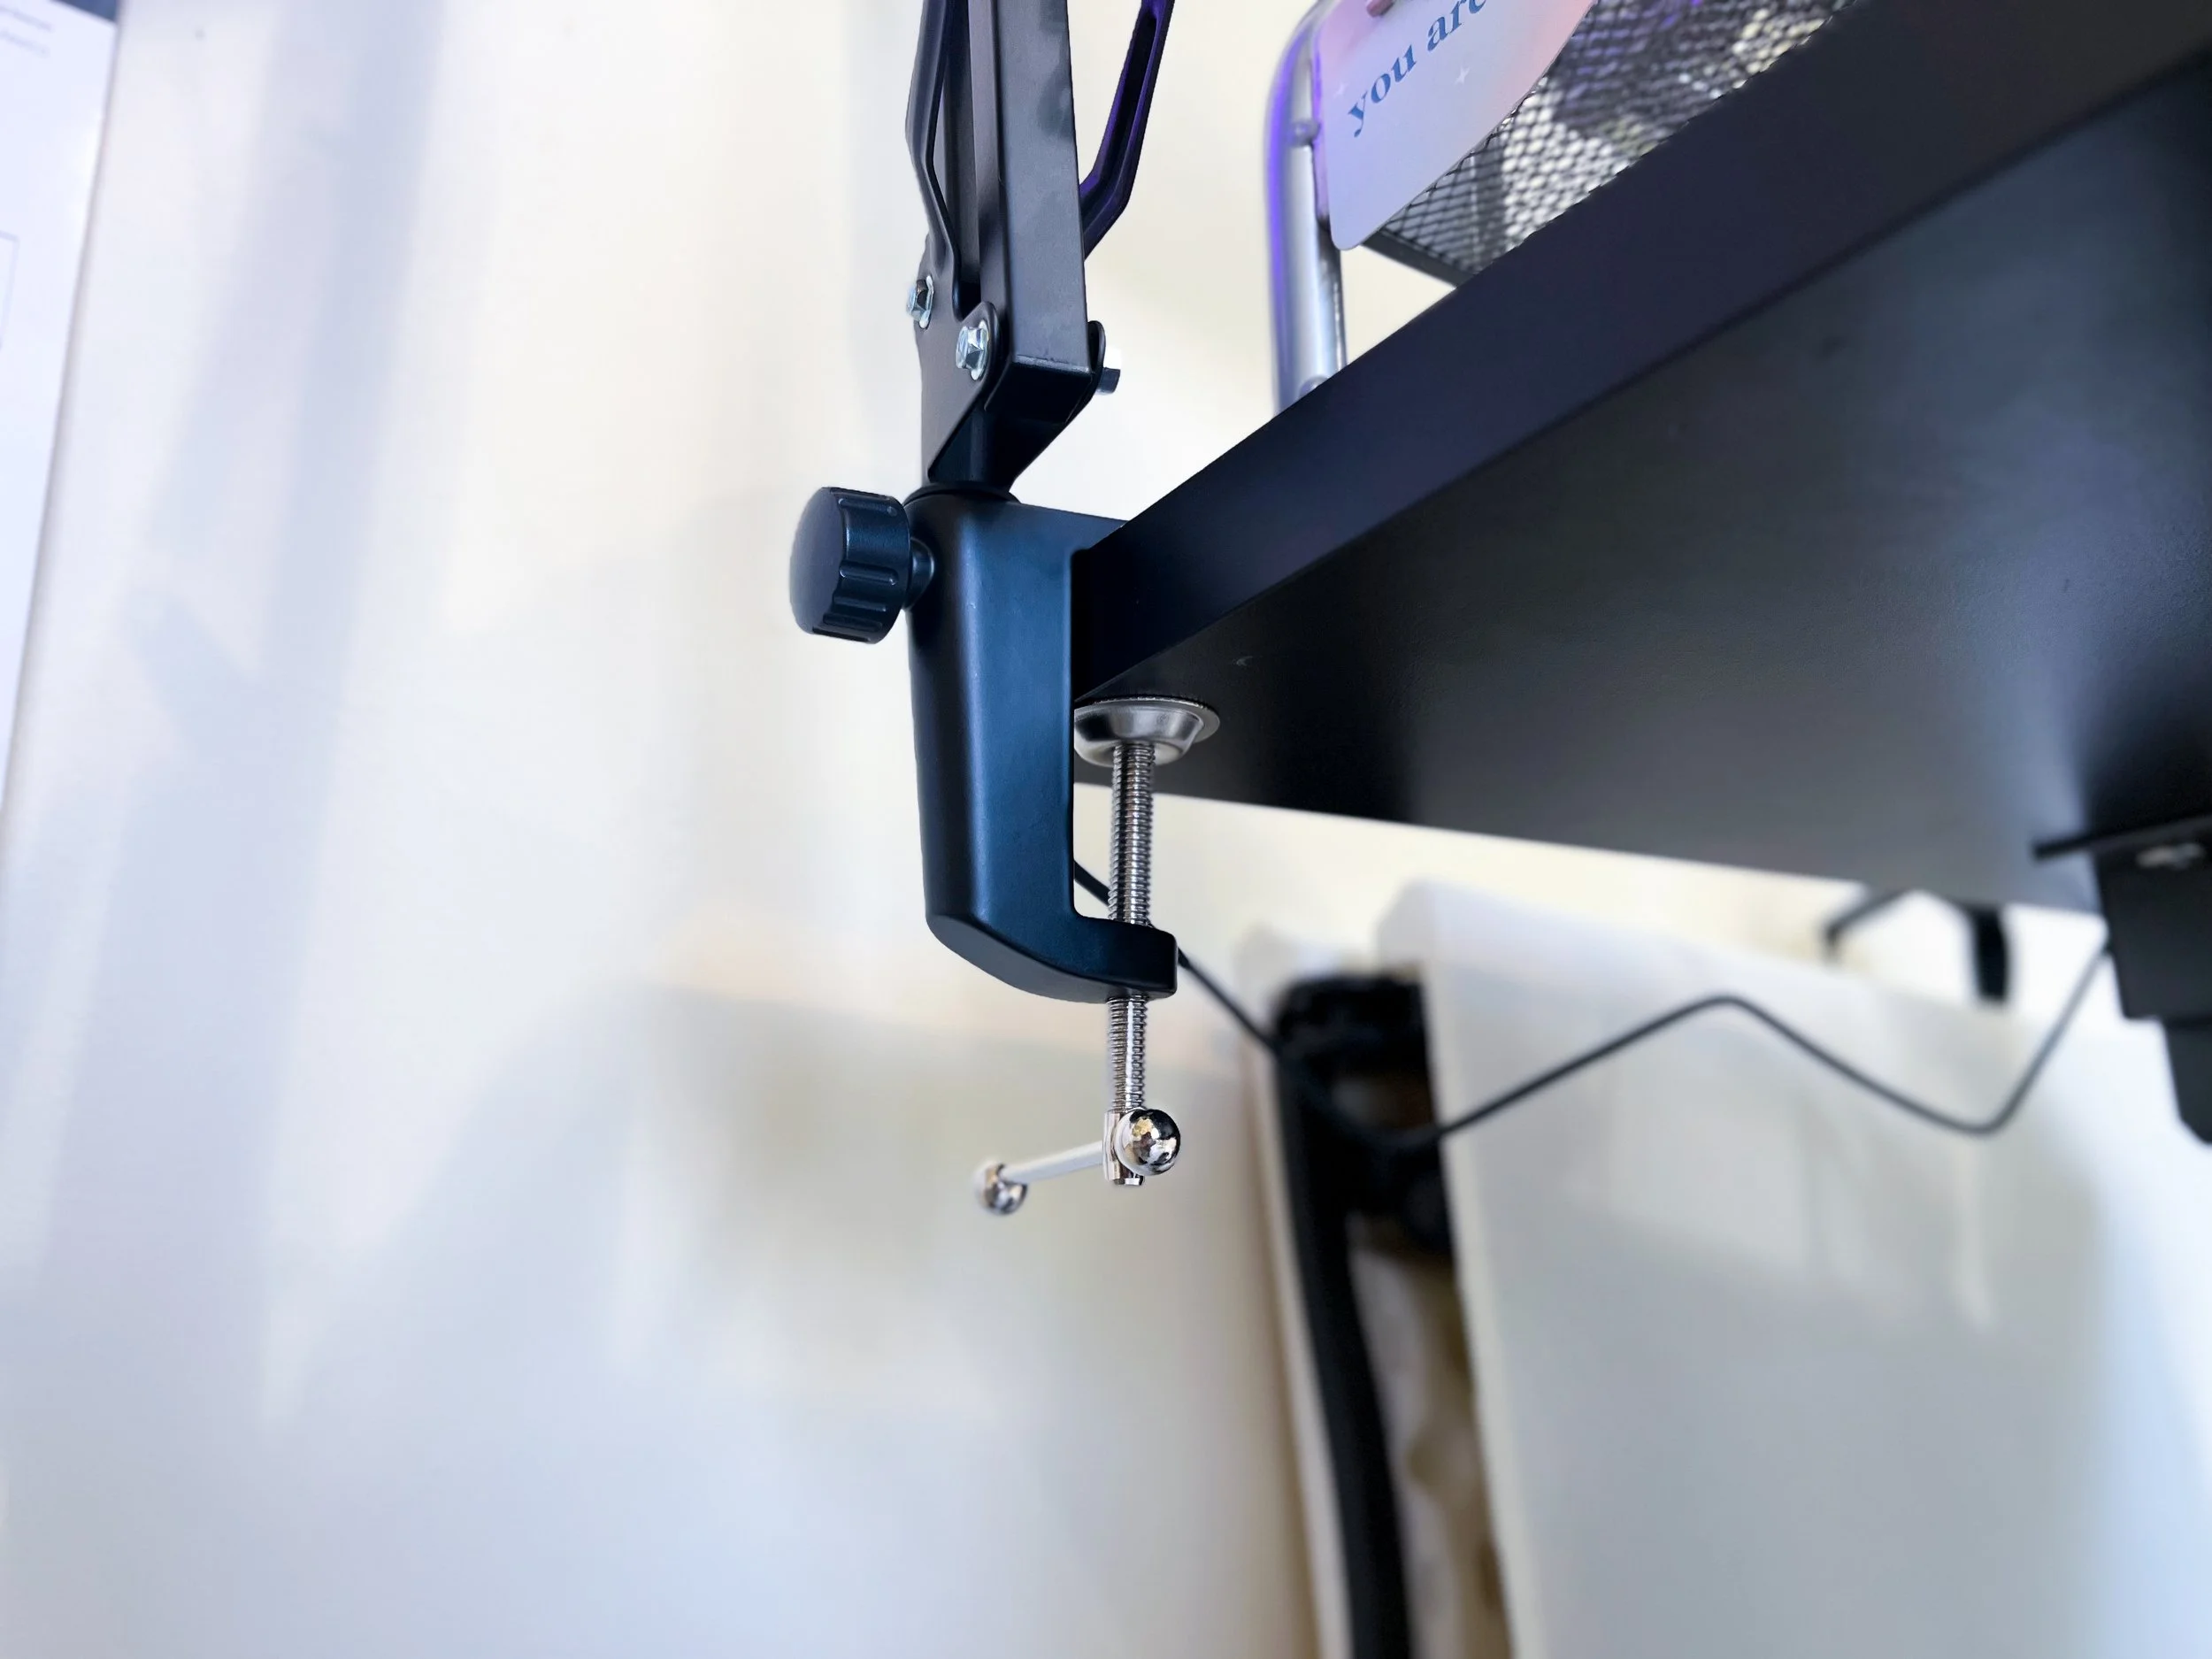
The desk clamp feels sturdy on my desk, and while there is a thin pad to protect the top of my desk from the clamp, there is nothing to protect the underside of my desk from the metal screw.
The arm slides into a tube on the side of the clamp, and has a tightening screw for stability. But even at its tightest, the arm easily lifts out of the tube and there is plenty of room to wiggle the arm around within the tube. The elbow joint screw seems to be stable enough, but when you get to the mic attachment screw, you better only plan on adjusting the mic in a clockwise direction. If you go counterclockwise, the mic will start to unscrew itself from the arm. I have tried loosening the clamp on the mic-attachment screw to see if that would allow me to adjust the mic in either direction, but with no success. And since the cable for the mic is coming out the bottom, having to always adjust in one direction means getting the cable wrapped around the mic and/or arm or unplugging it every time you want to make even a small adjustment to avoid entanglement.
Speaking of cables, there is absolutely no cable management on the arm. I have been using the velcro wrap that came on the mic cable to have a single DIY “cable management” point on the top of the arm. This further reduces the “sleekness” of the boom arm.
My last nit about the boom arm is that there is no way to disconnect the USB cable from the arm. I understand why it's there, and why it’s not easily detachable, but having it as a permanent tail just adds an annoyance when I’m having to move the arm between a couple locations. I primarily use the mic and arm at my desk, but I occasionally have to move into a portable recording booth. For that setting, I don’t need the RGB feature, but I still have to figure out what to do with the attached USB cable so I don’t trip on it and so my dog doesn’t accidentally lay on top of the cable and pull the whole set up down. But, if this doesn’t sound like your situation, or how you would use the mic, this won’t be an issue.

The Cables & Connection Options
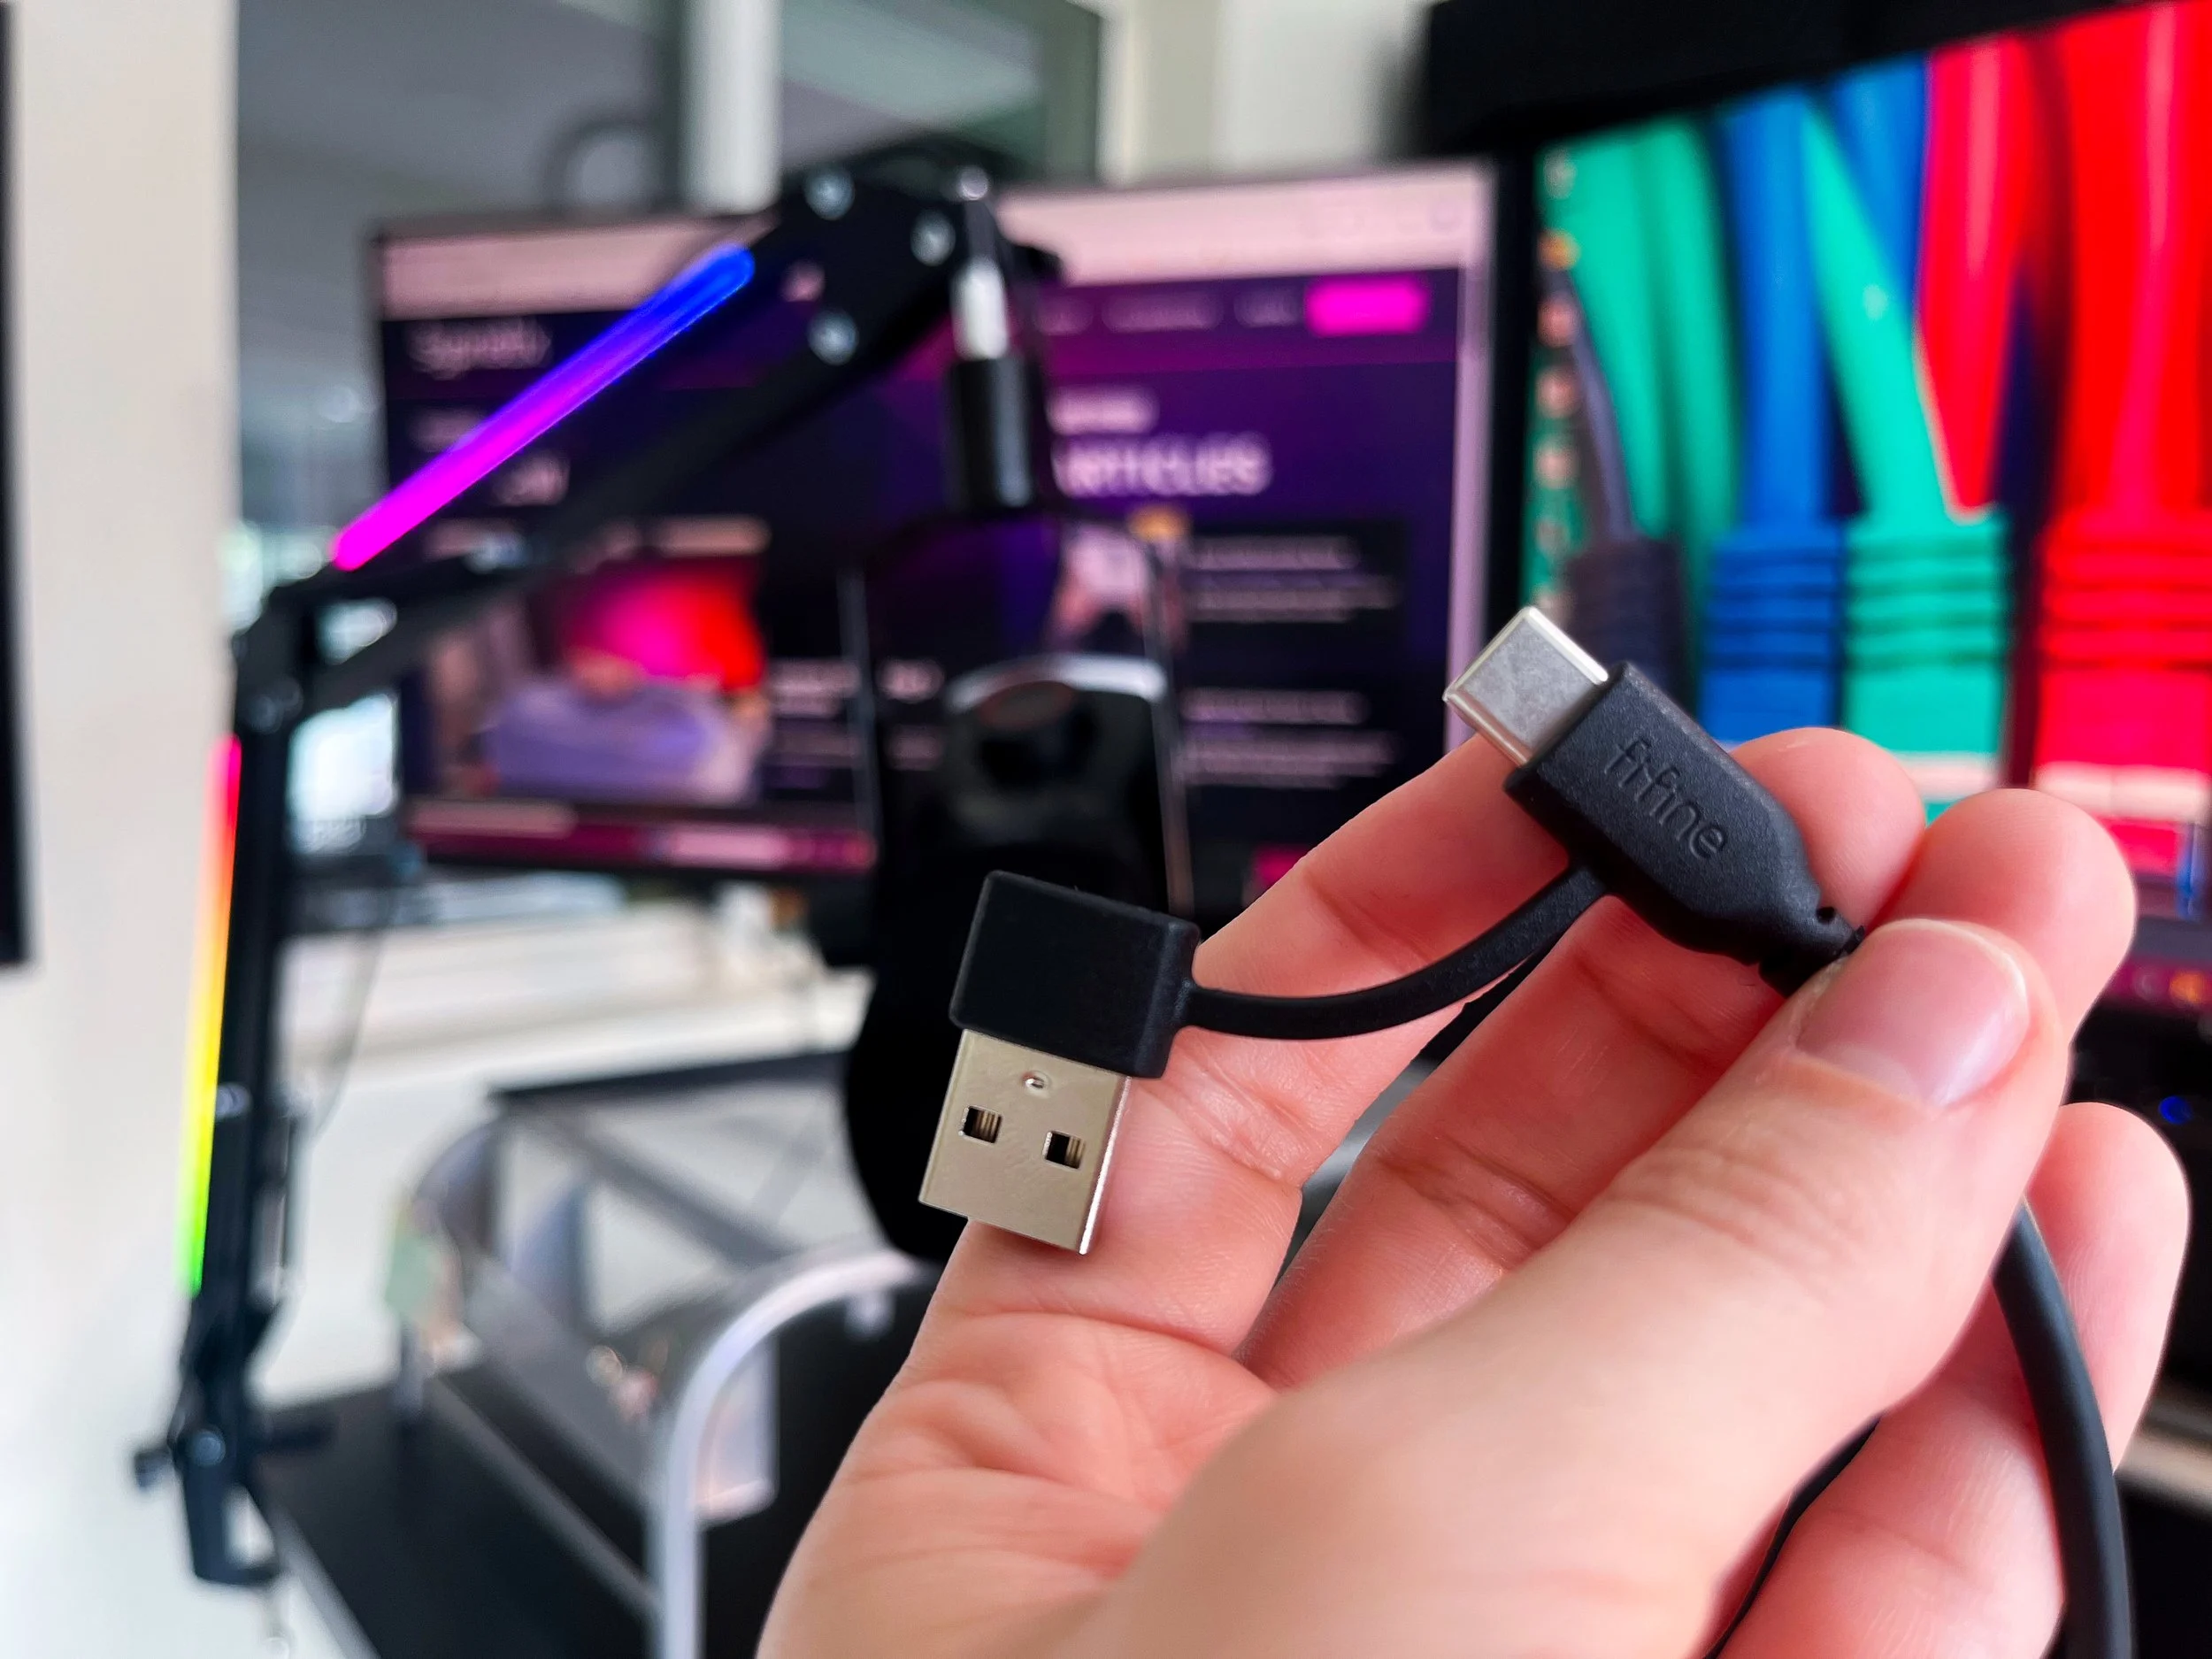
This is a small thing, and maybe this is very common and I’m the last one to the party, but I love the fact that both cables (the mic cable and the boom arm cable) have a versatile USB A OR USB-C end that you can plug into your device—as in an attached and included dongle! So while it’s somewhat annoying that there are two cables that need two ports, you can be a bit more flexible in what ports you use because of this feature.
I appreciate the versatility that this mic offers with the plug-and-play simplicity of the USB connection, while also offering the slightly more refined sound capture of the XLR connection. Since this is my first XLR mic, I also appreciate that when I have it connected via XLR, I do not need phantom power.
That said, it's a real bummer that the fun lights on the mic require a USB connection. I imagine most consumers of this mic are planning to feature it somehow in their streaming set up, and therefore, the RGB ring is a big selling point. But if you want the increased quality that comes from an XLR connection, and you want the fun lights, you will have to have two cables coming out the bottom of your mic. Not a deal breaker, but a bummer.
Another bummer is that for the mic to work, you need a USB-C to USB A/USB-C cable—the mic will not work when using a USB-C to Lightning cable. You, the reader, are probably thinking, “Duh! Who is dumb enough to think that that could work?” Well, consider me ever the optimist. In my review of the Sennheiser Profile USB mic, I learned that that mic doesn’t work with USB to Lighting connection, but I was hopeful that maybe this mic would be different. I don’t pretend to know what magic happens inside a cable, or what extra powers a cable has because of different ends, but as long as I have an (old) iPhone with a Lighting port, I will try to connect my USB mics to it.
Finally, something cable-related to note from my testing. I have a JBL Partybox speaker, which, along with two quarter-inch mic ports, has an XLR port and a USB port. I connected the mic via XLR to the speaker and, low and behold, the mic worked! But when I plugged in the mic using the USB cable, only the RGB lights turned out—there seemed to be no sound capture. Just something to note if you were going to try to use this mic in a more versatile way than just plugged into a computer to record sound (though I'm sure there are plenty of mics on the market that are designed to fit that multi-function bill, so keep doing your research).
Final Thoughts
If you are just getting started and you need the mic and boom arm, or you’re looking to upgrade your mic and get your first boom arm, this deal is pretty hard to beat. The sound quality that comes from the mic—via USB and XLR—is really great, especially for this price. It’s also a kit you can grow with because of the XLR capability. And as a dynamic mic, it will perform well in even the most unforgiving environments, meaning you can get that livestream set up quick without first having to completely sound-treat your room.
But, if you’re getting this kit for the RGB boom arm (because they don’t sell this arm separately), and you already have a mic you are happy with, I would suggest buying a non-spring-based boom arm with better cable management, and finding some good RGB strips to add yourself.
We are a participant in the Amazon Services LLC Associates Program, an affiliate advertising program designed to provide a means for us to earn fees and support our channel by linking to Amazon.com and affiliated sites.

Does the Sennheiser brand name holdover to the USB microphone space?